5. Uploading Source Content (Images, Videos) to the Library
Publication date: July 5, 2024
Last edited: April 15, 2025
It is assumed that the required content for uploading to the Library has been prepared on the User's computer.
5.1. Navigate to: Main Menu - Library
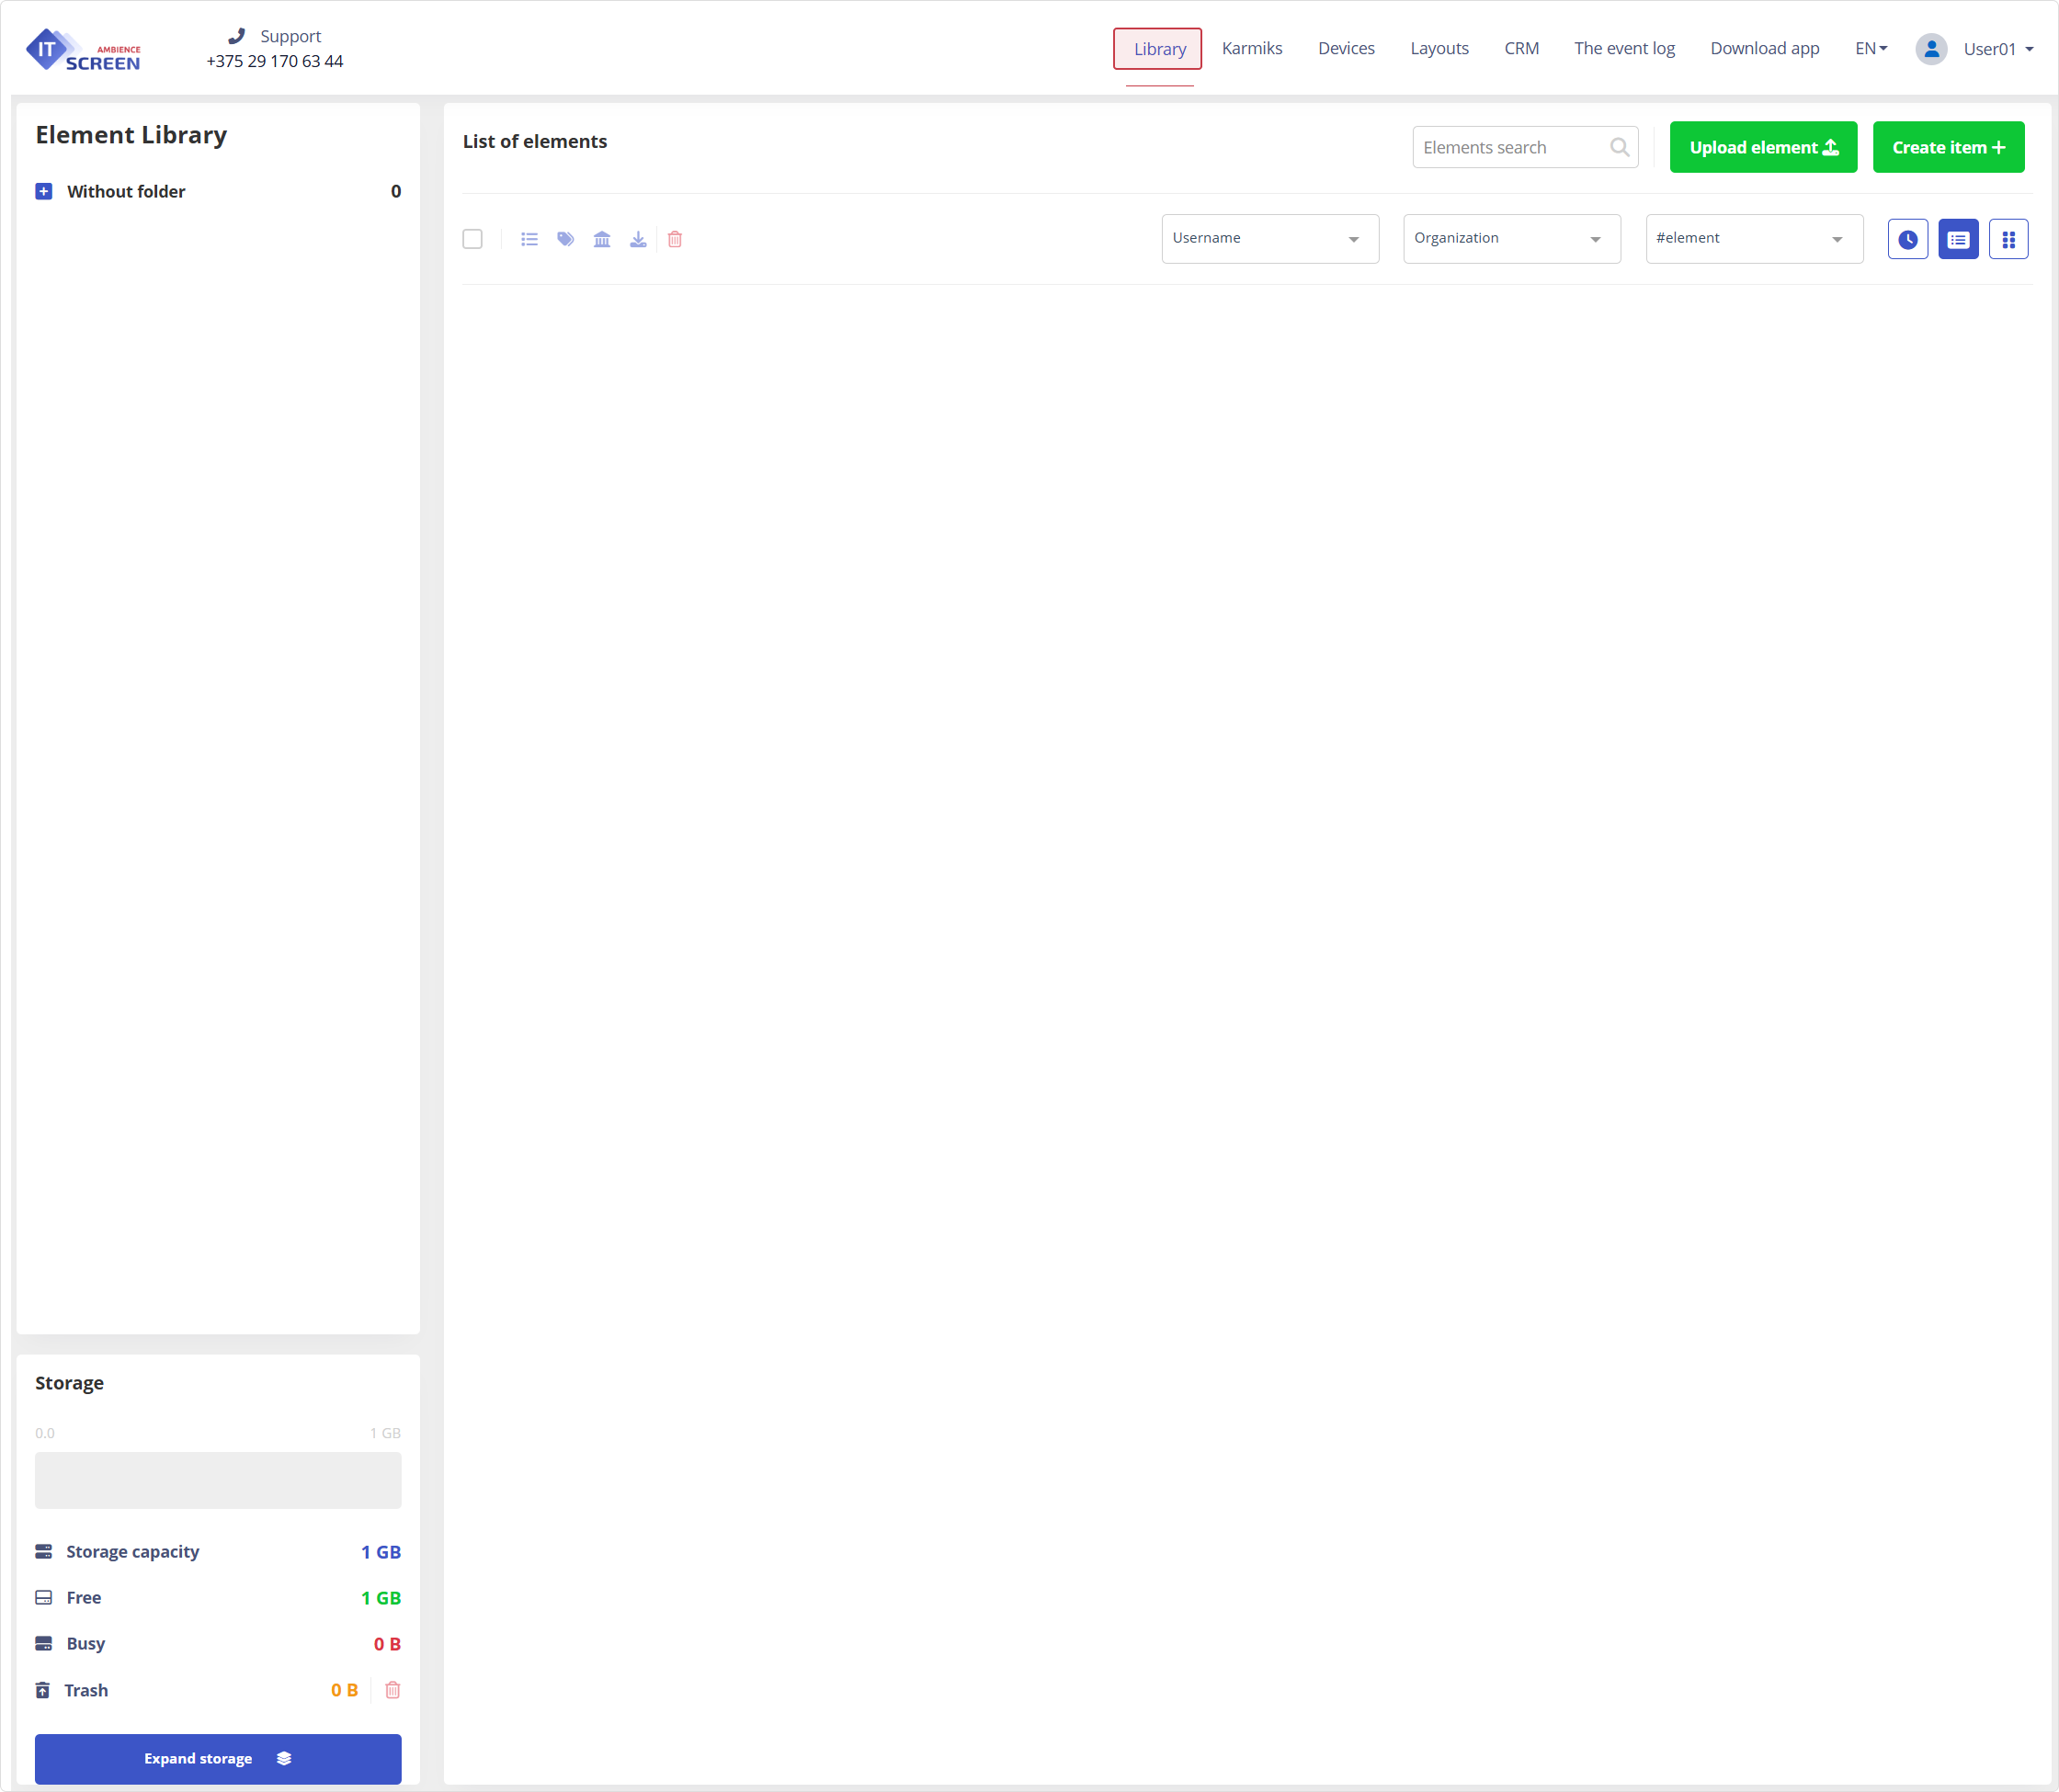
5.2. Upload prepared files to the Library
Click the button . A File Explorer window opens, where you can select the required files. Once the upload is complete, the file(s) will appear in the Library. Uploaded files in the Library are referred to as Items.
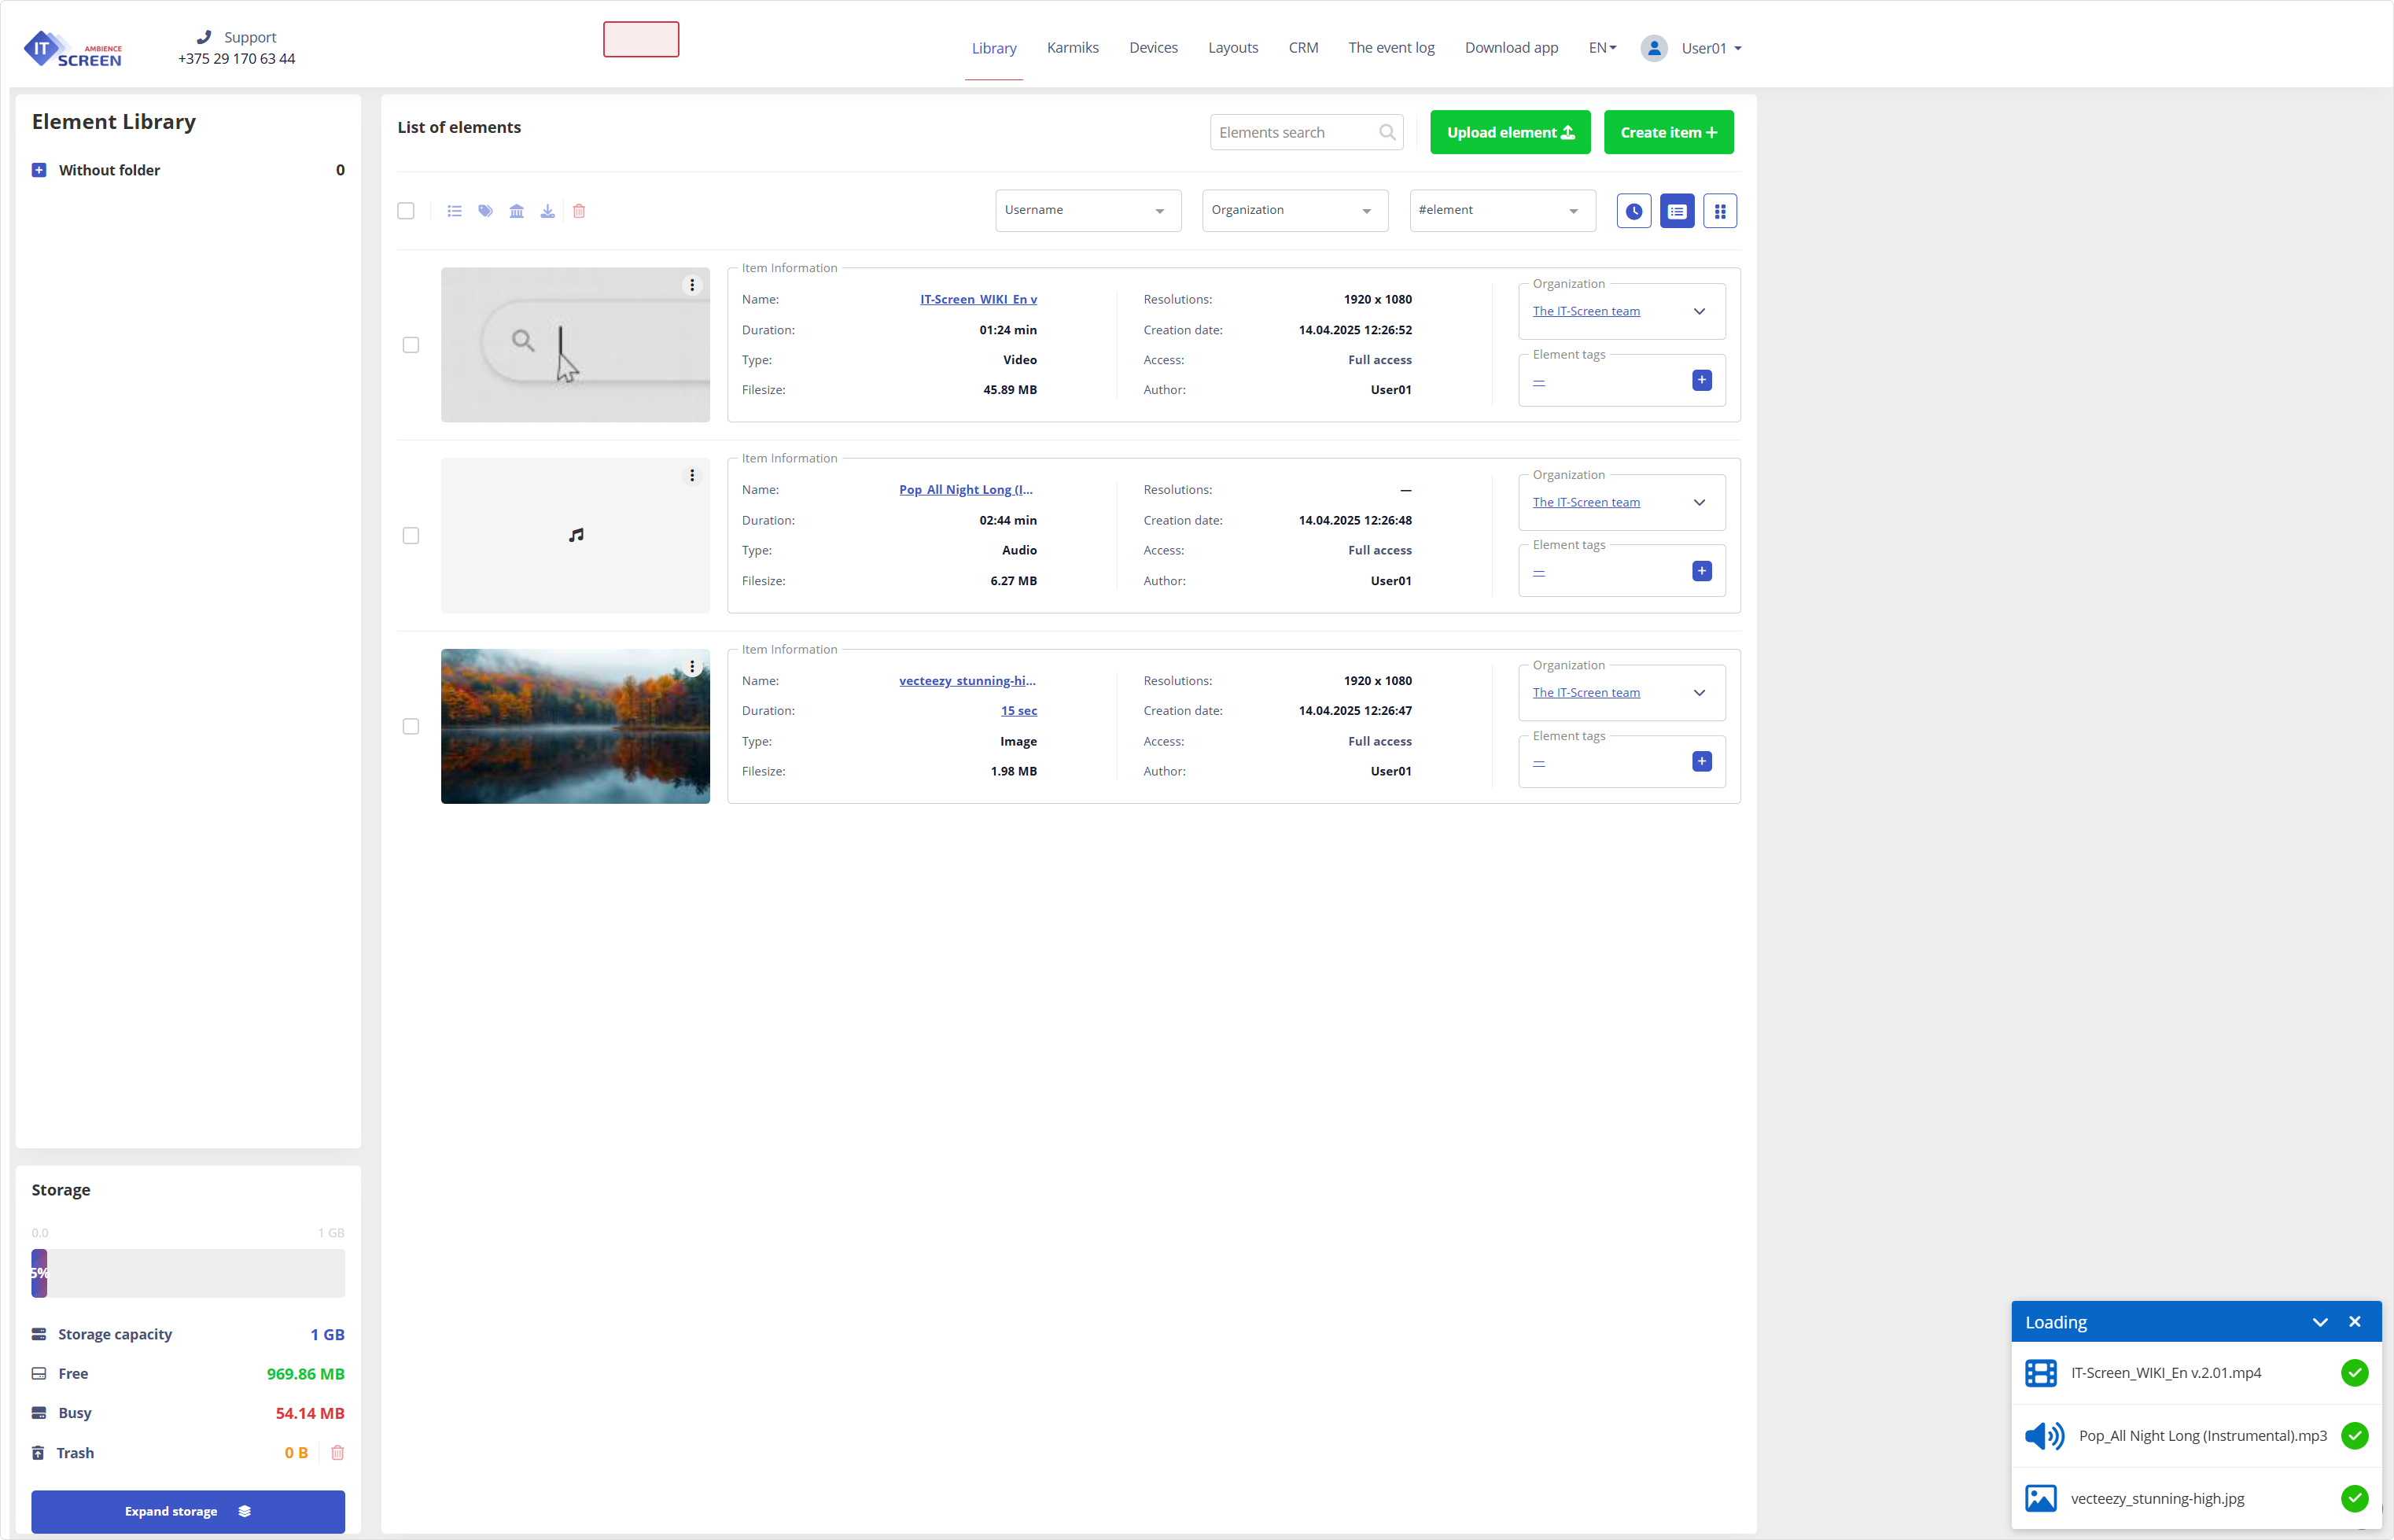
If needed, the user can filter items by type.
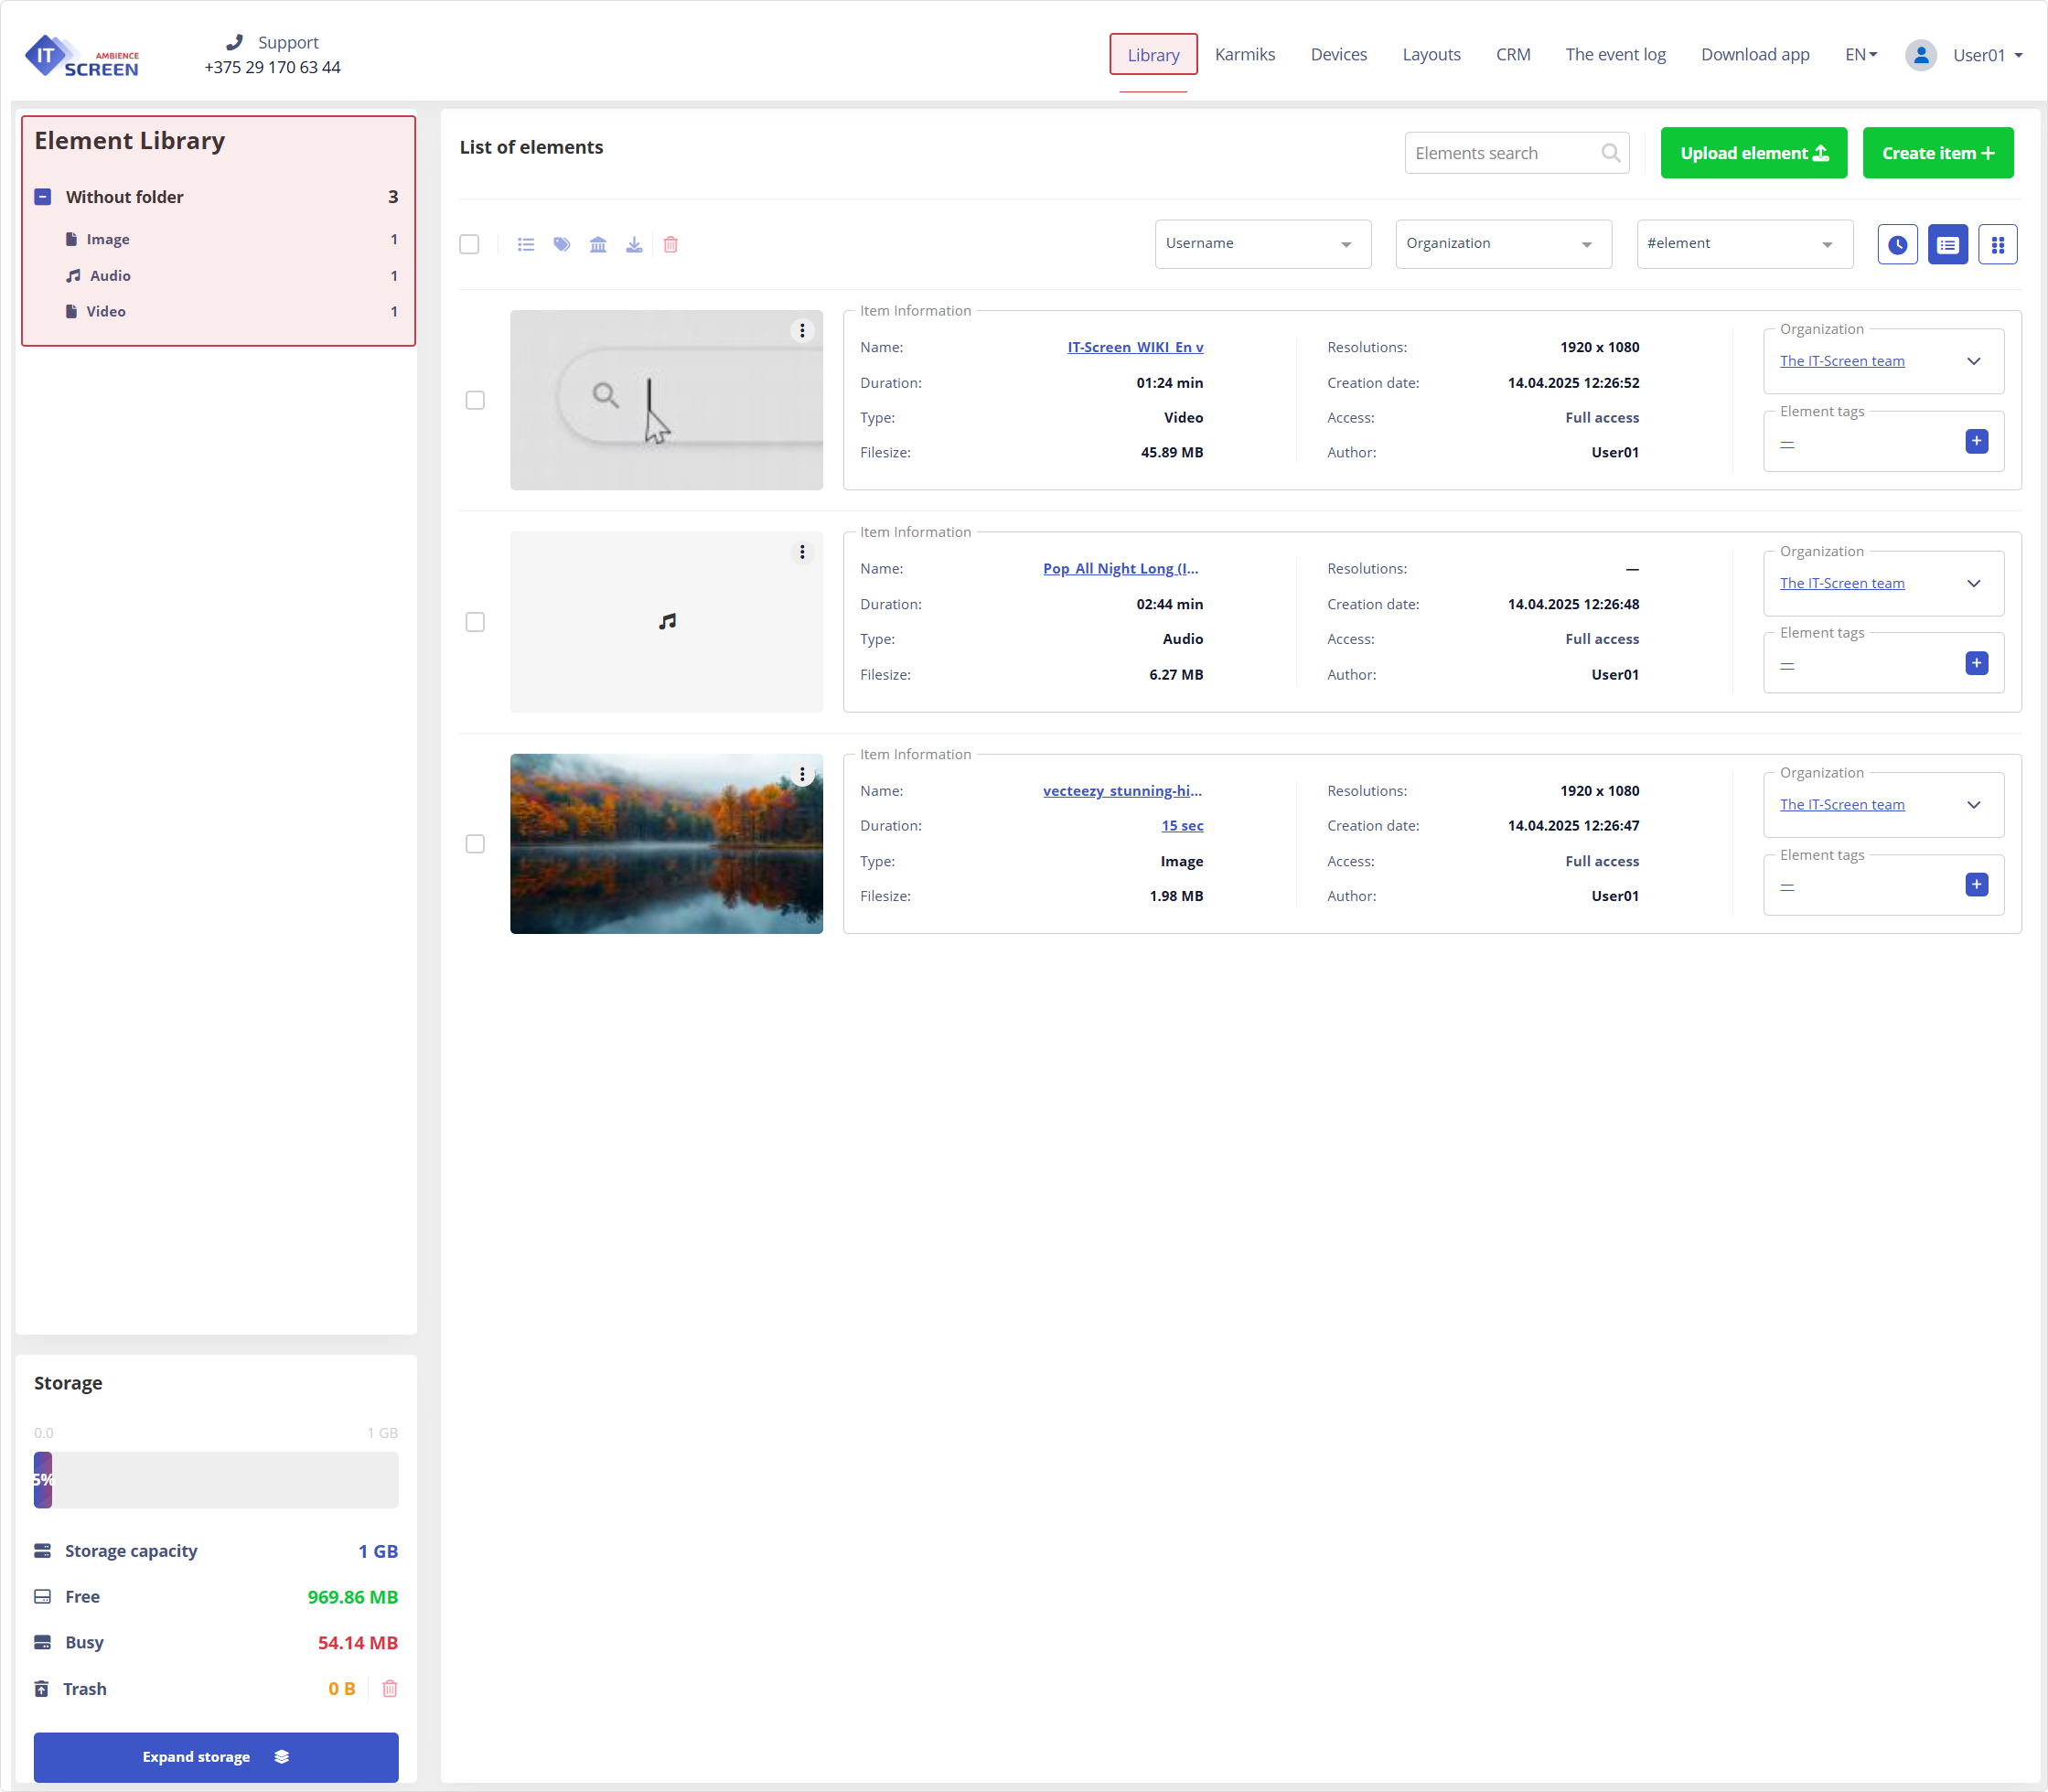
5.3. Create and Assign Tags to Library Items
If the number of items is small, using tags is optional. However, using them provides additional features such as sorting and filtering items by tag. If this functionality is not needed, this step can be skipped.
After files are uploaded to the Library, they acquire additional properties. The user's organization affiliation is assigned automatically.
5.3.1 Create Tags
In the Item Tags area, click the button
In the Item Tags window that appears, click the button
Enter the tag name and click the button
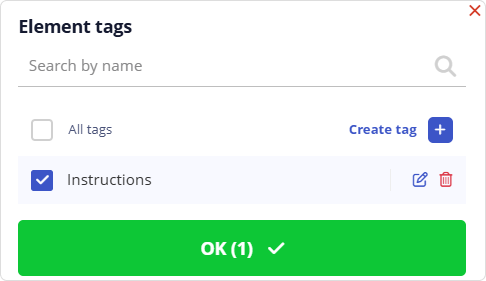
To assign the tag to an item, click the button
5.3.2 Assign Tags
If the required tags already exist, they can be assigned to Library items. In the Item Tags area, click the "dash" button. From the list, select the desired tag(s) using the checkboxes
and click the button
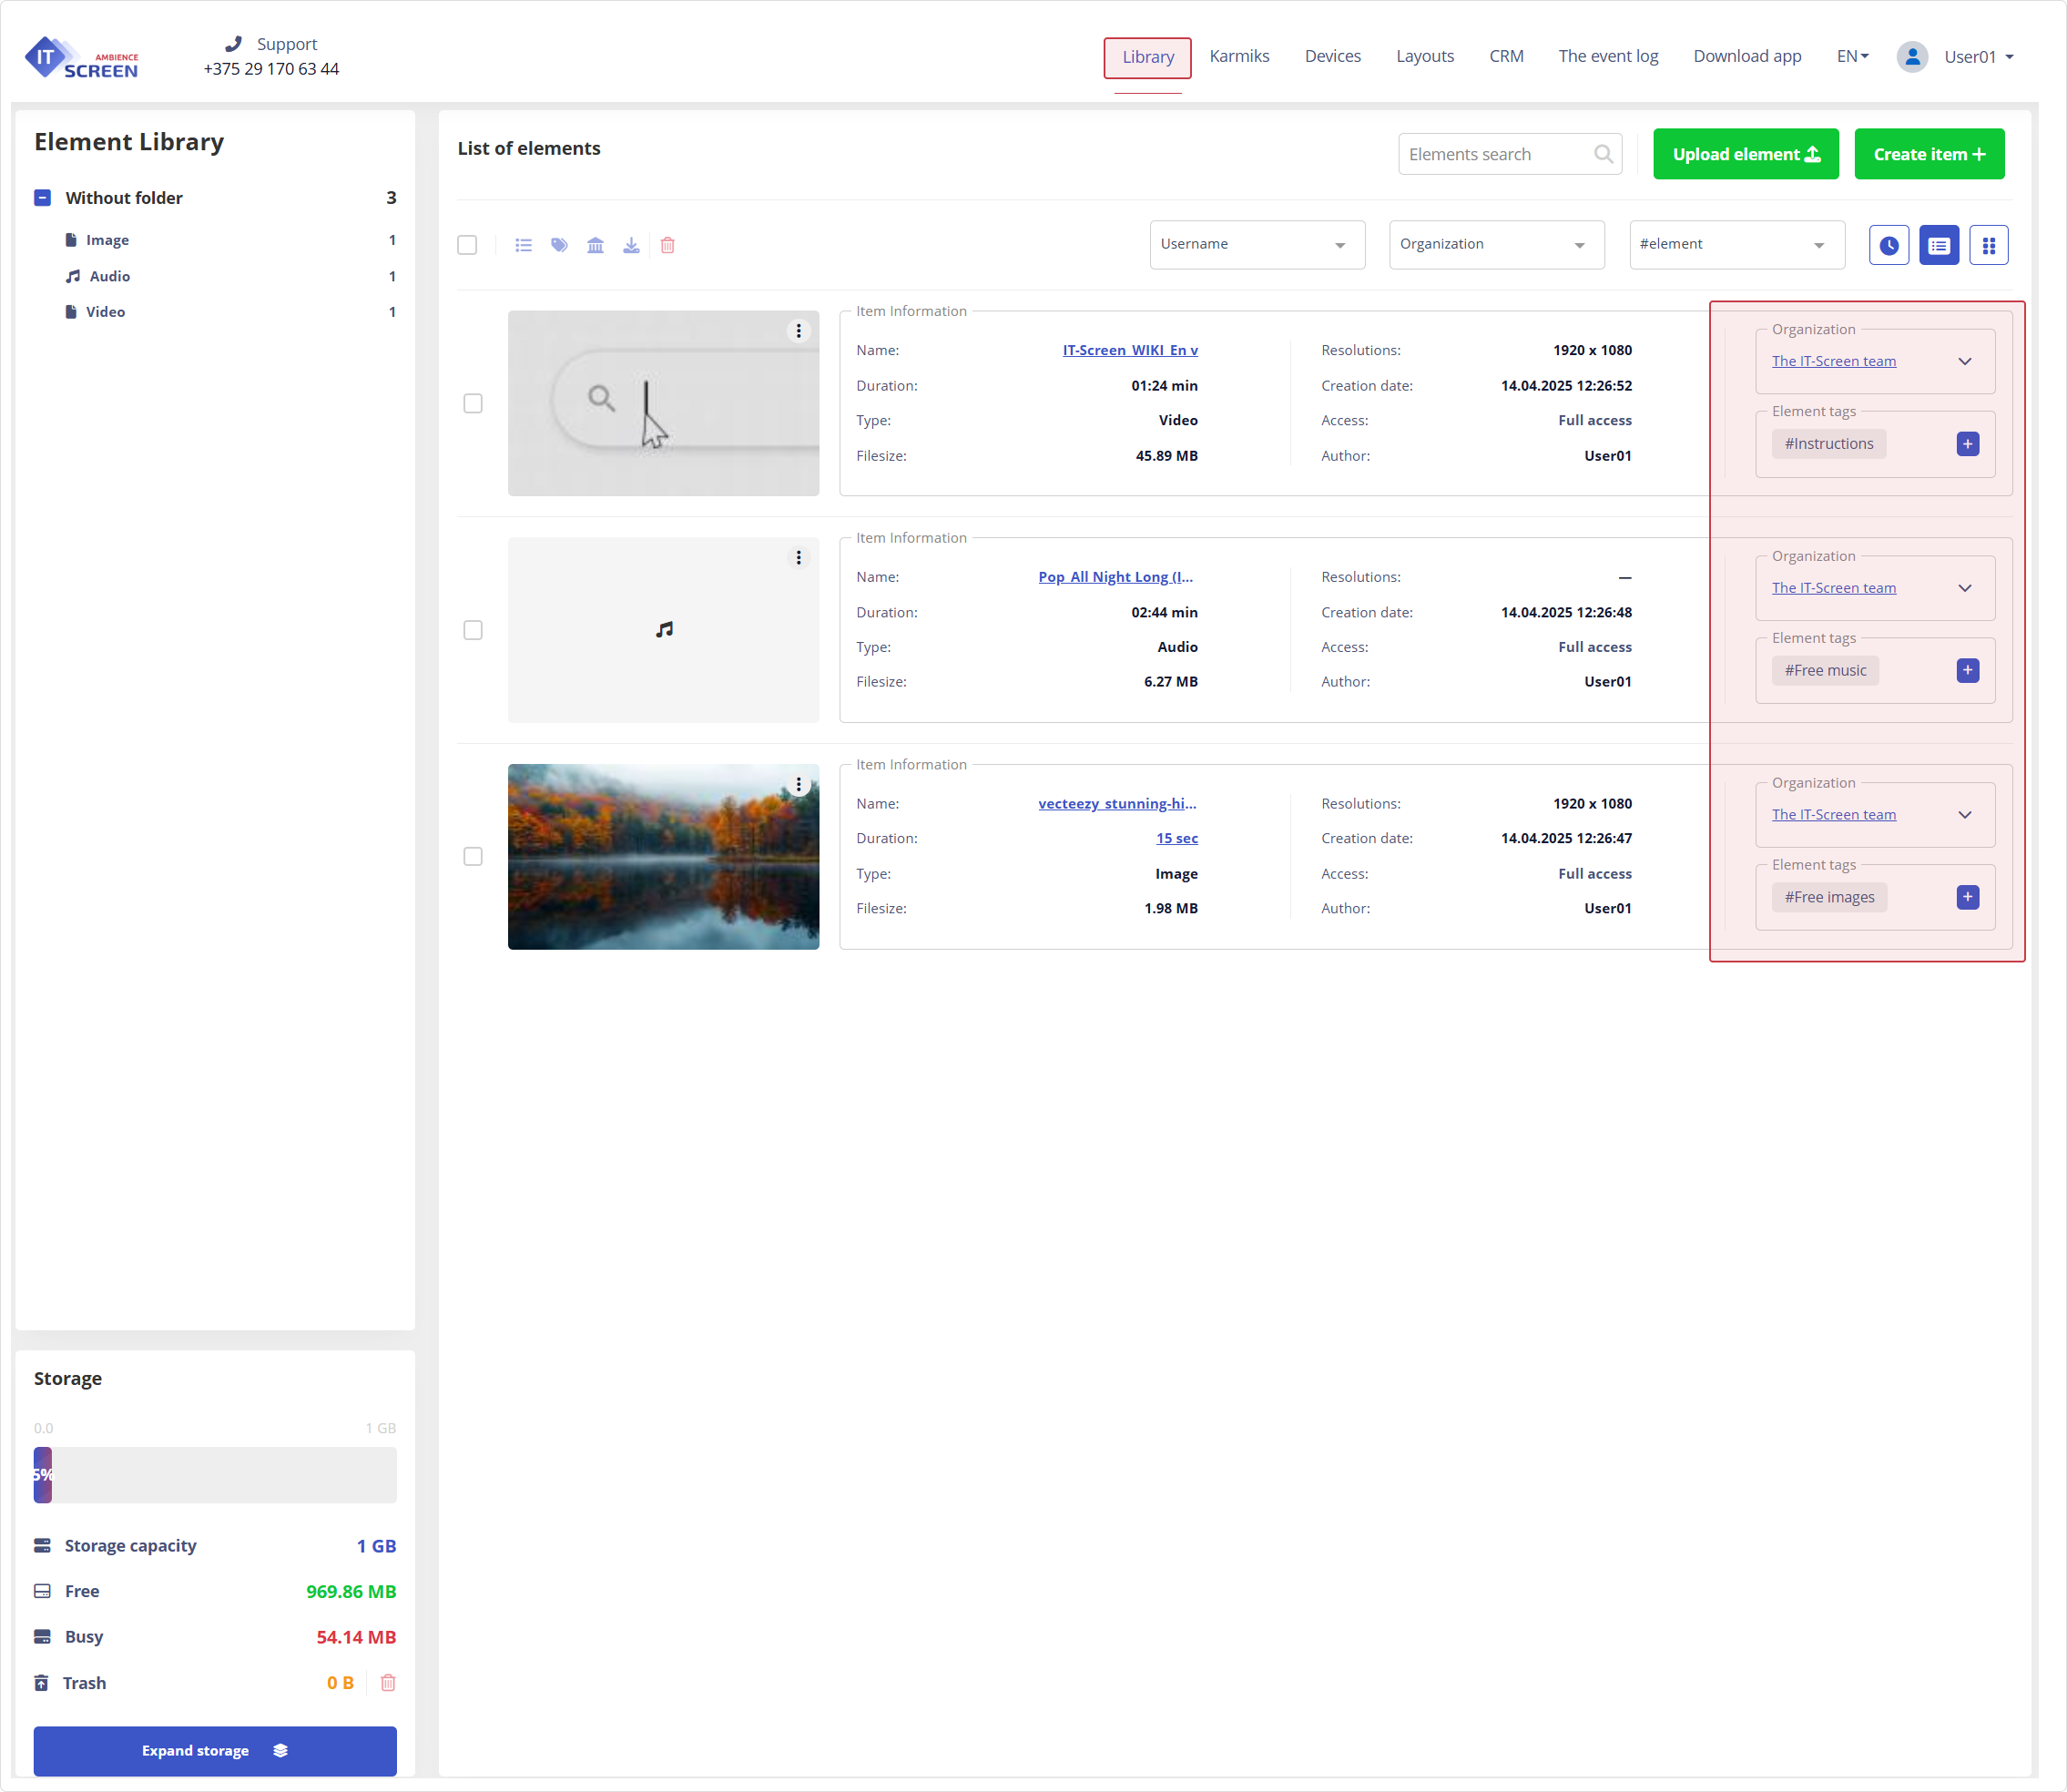
One item can have multiple tags.
Congratulations! You can now proceed to 6. Creating a Layout and Windows for Content Display on the Screen