Karmiks (Playlists)
Starting with version 8.3.41 of the server software (IT-Screen cloud service), the concept of Karmiks has been introduced.
Every day we perform a familiar set of actions - waking up, showering, going to work, coming home, resting... People call this "Karma" - a set and pattern of actions depending on our goals and experiences.
Digital devices can also have their own Karma. It-screen creates special lists of content, data, commands that drive devices. We call them "Karma Lists " or simply "Karmiks".
A Karmik is a numbered list of Components (content: - video, audio, images; data: - widgets, documents; control commands) downloaded from Library or directly to Karmiks to be played in a specific sequence with set rotation parameters (content) or device control (data, control commands).
A Library item moved to a Karmik becomes a Component, as it acquires the additional properties associated with its rotation as part of the playlist on the physical screen.
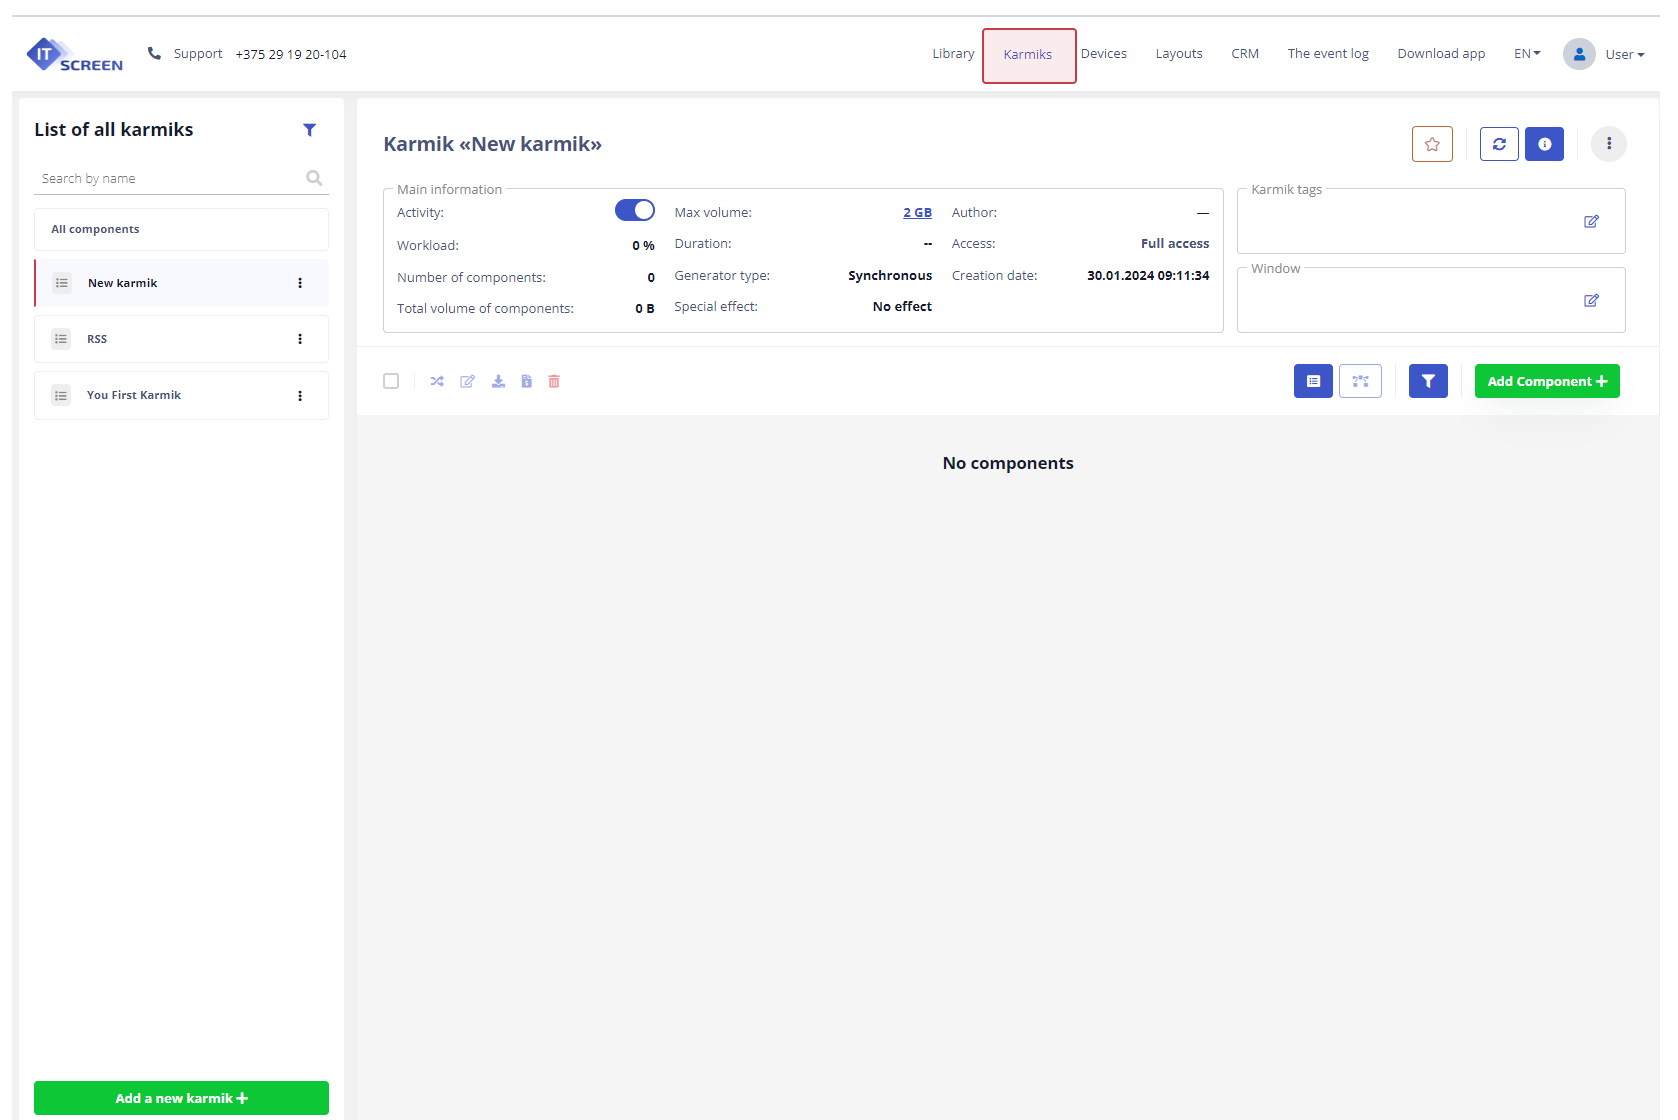
At the first startup the User has no Karmiks. Creating Karmik and filling it with components is described here ...
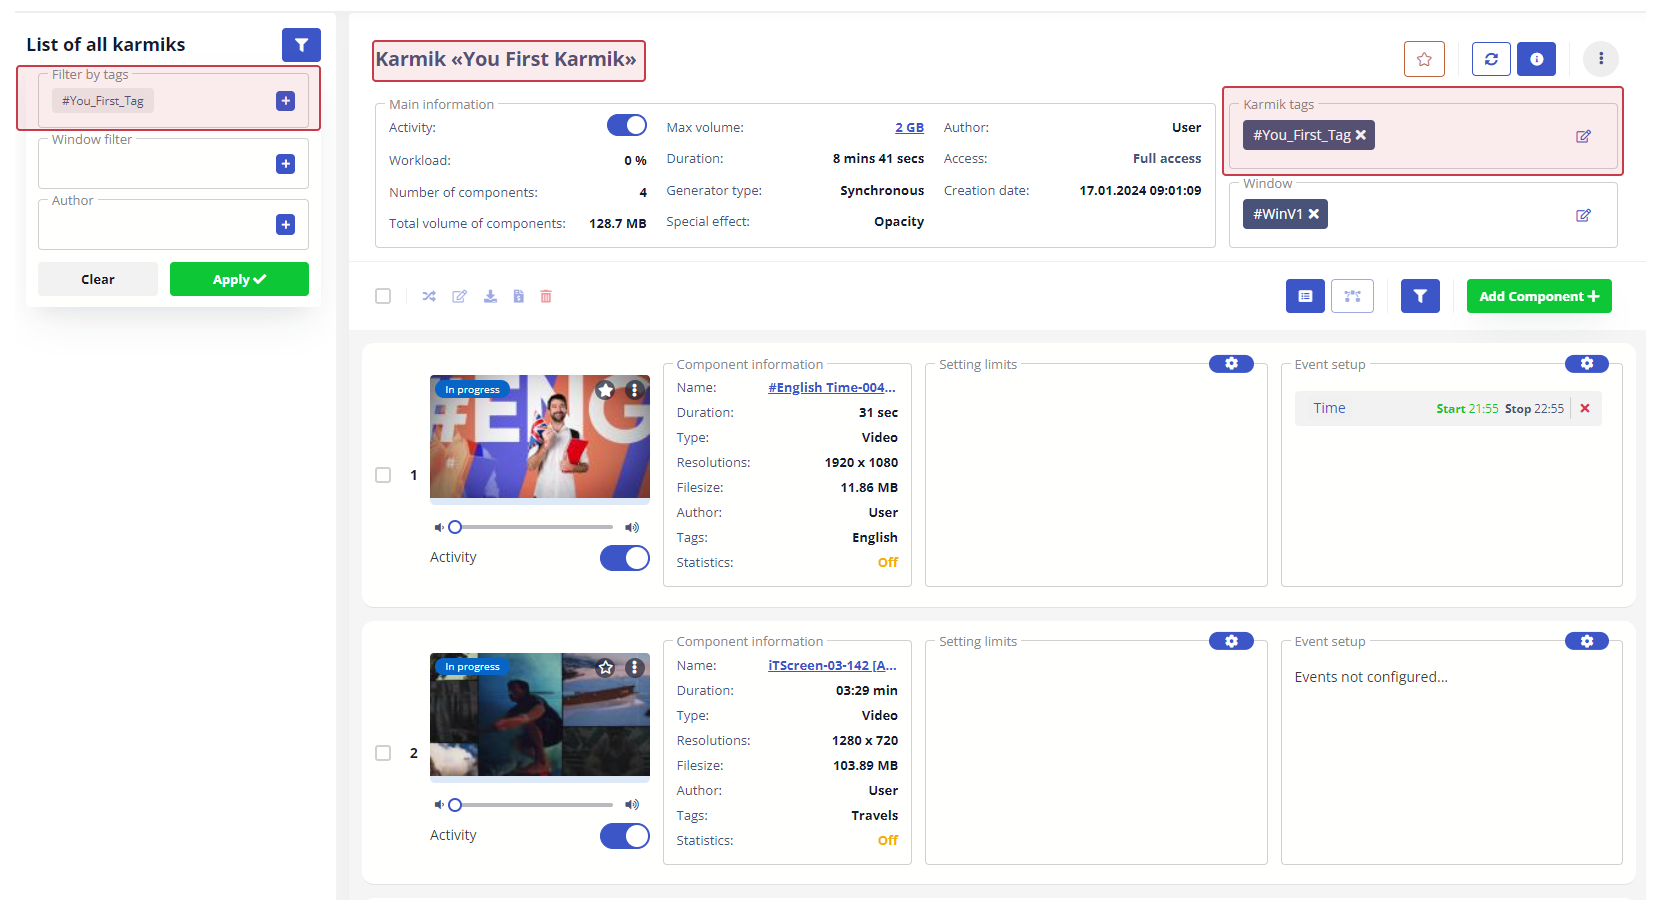
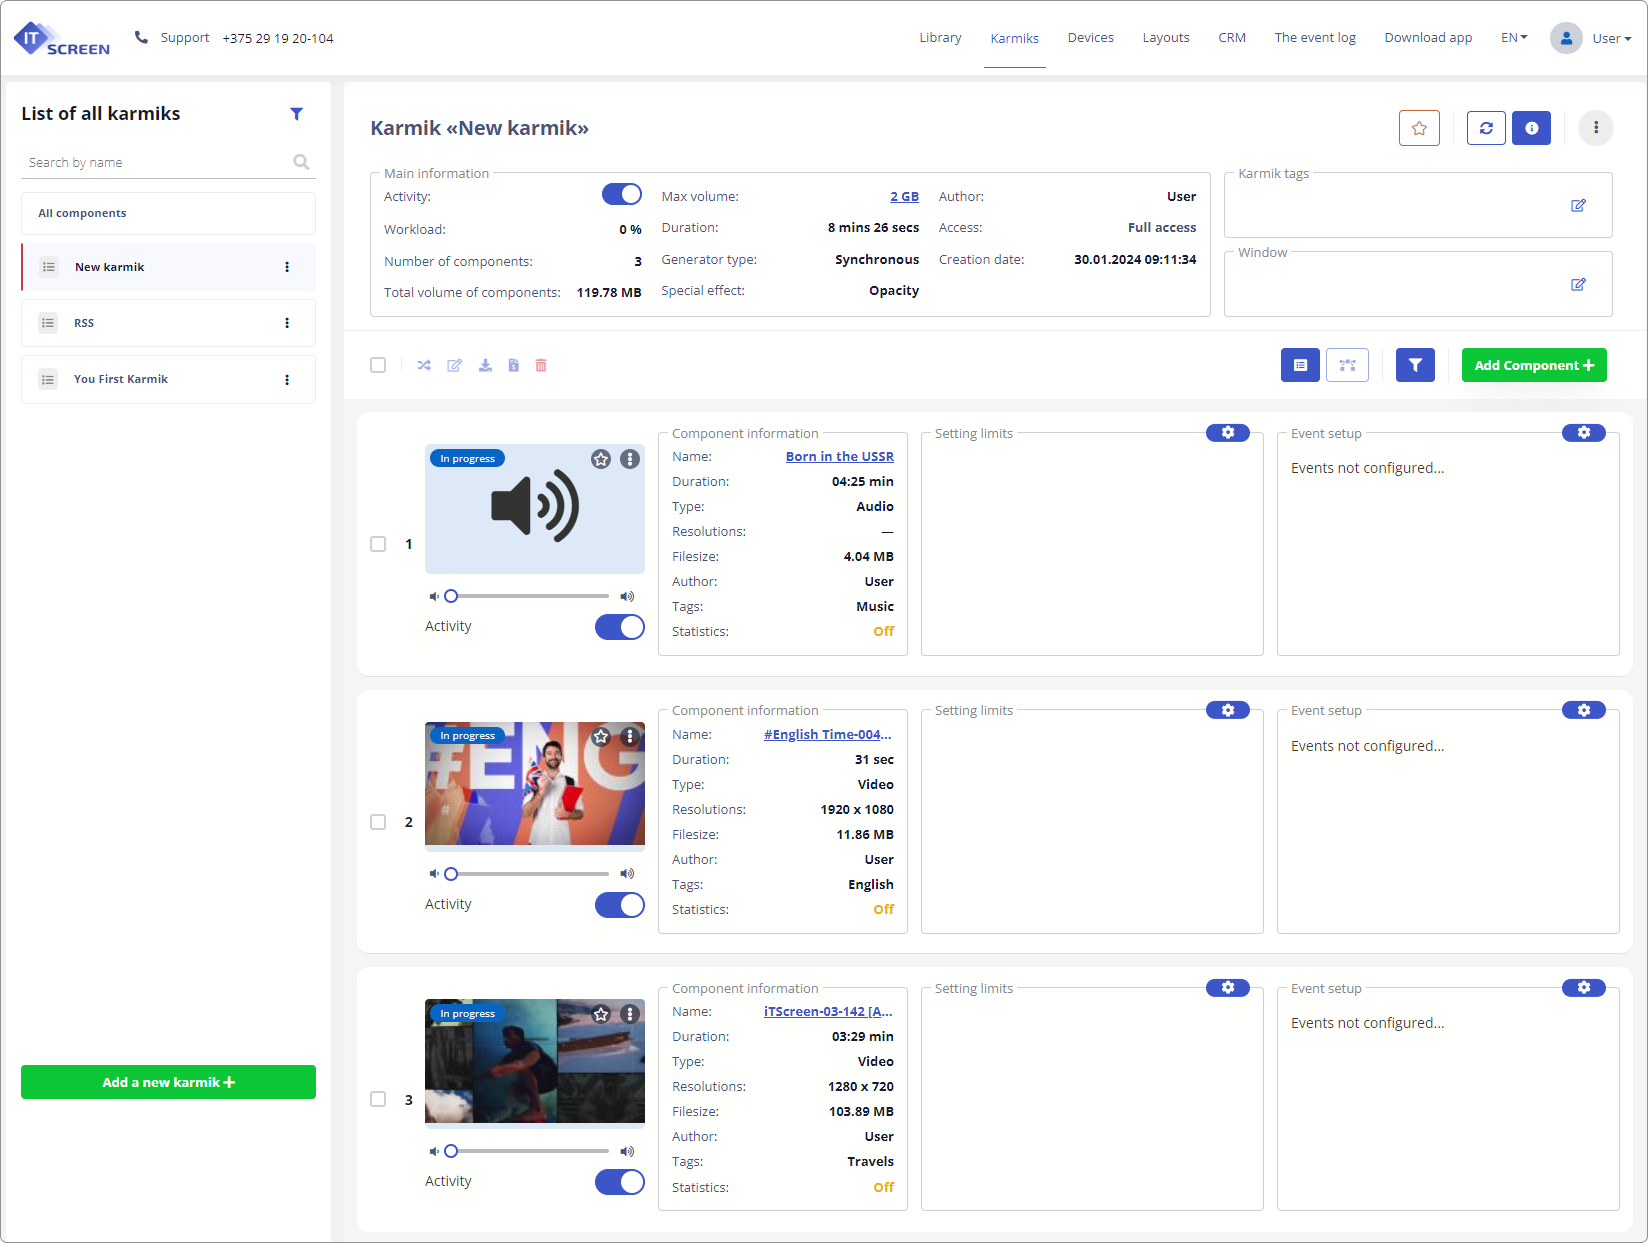
The main page of the menu item Karmiks - functionally can be divided into 6 areas:
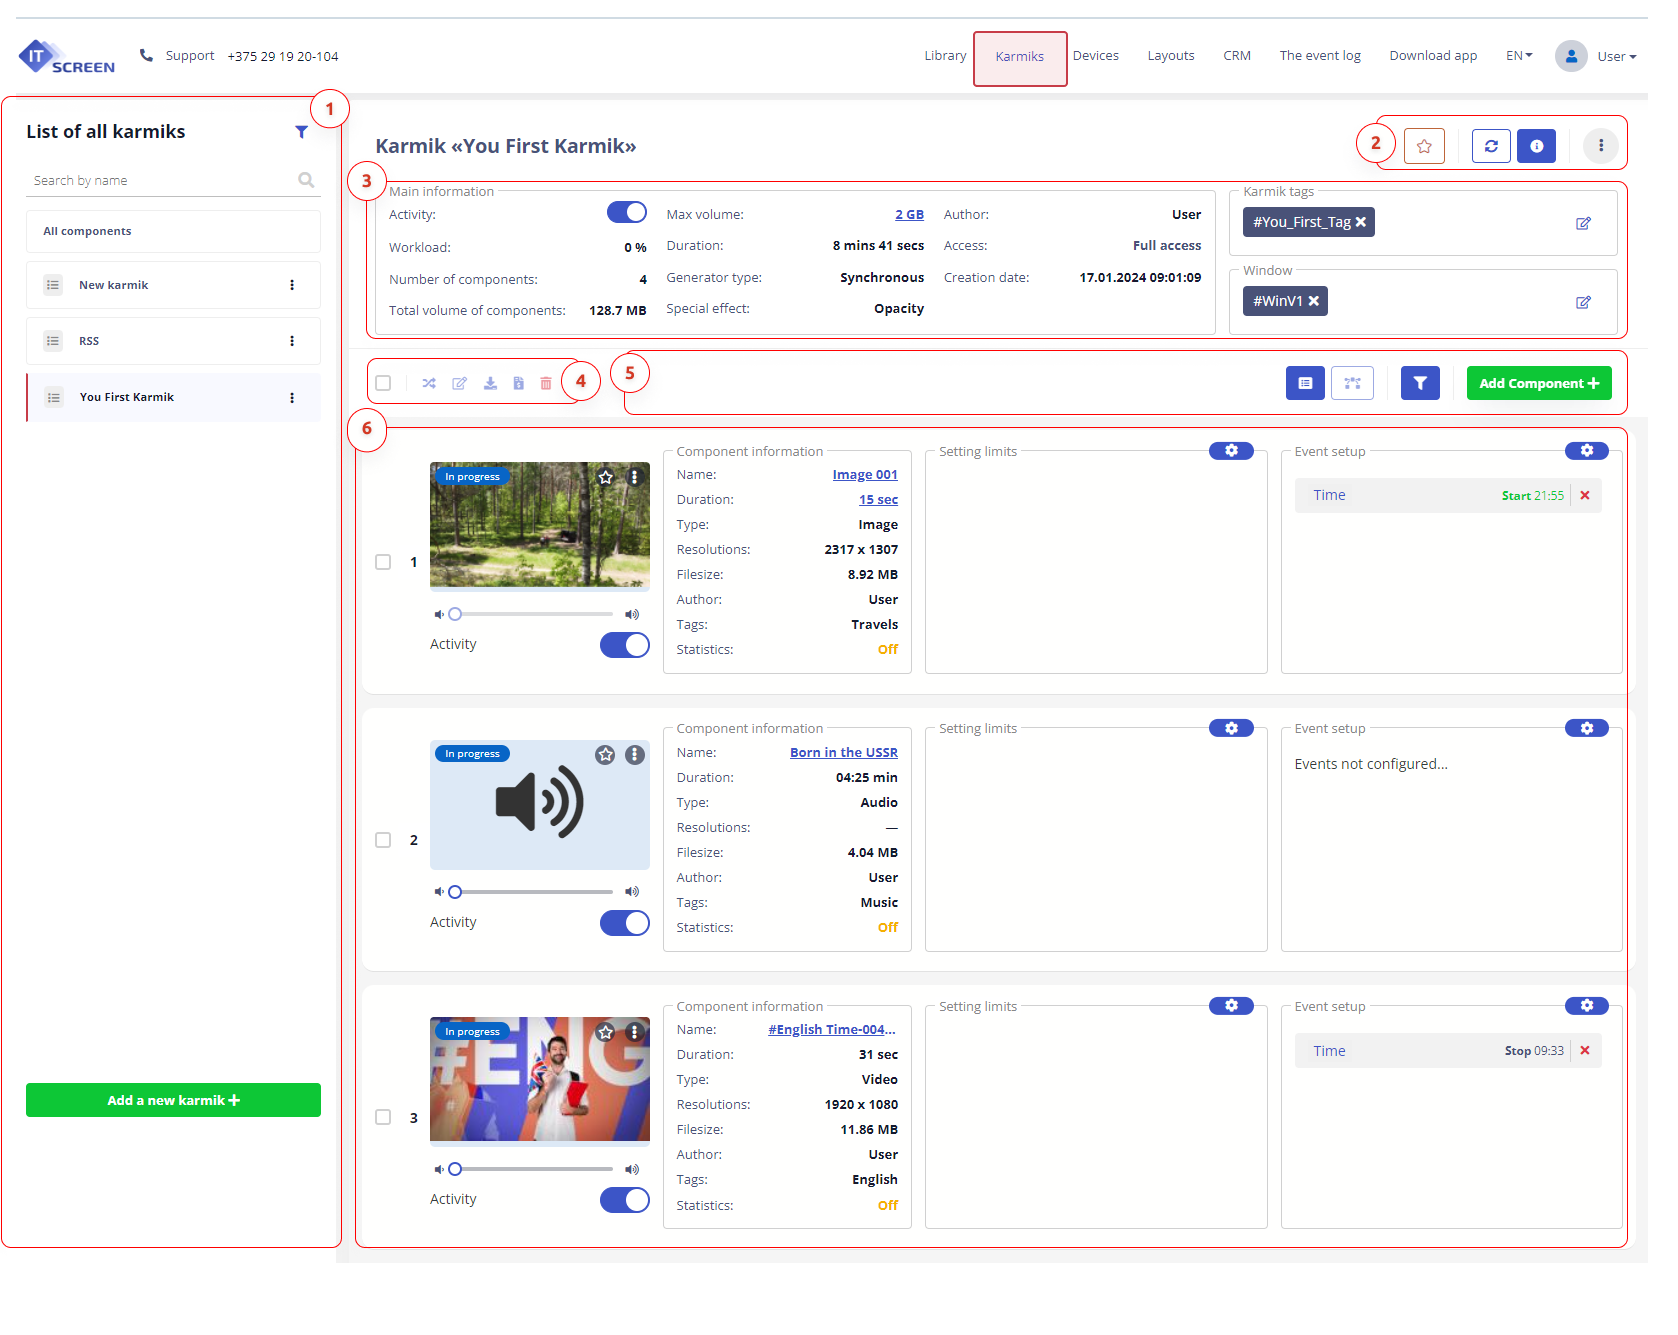
A list of all the karmiks
All playlists available to the User are presented.
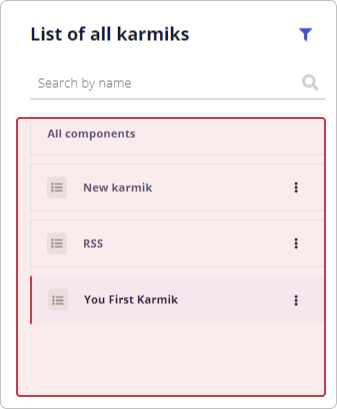
Table №1. A list of all the karmiks
| Tool | Description |
|---|---|
| Filter by karmik tag/window tag | |
| Search by karmik Title | |
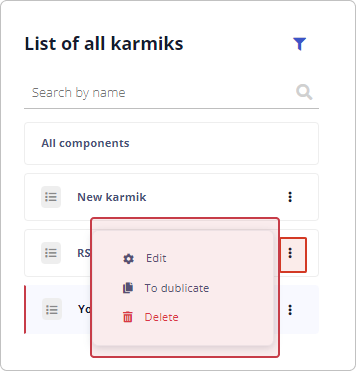 | Edit karmik |
| Add New karmik |
Karmik information, karmik settings, access to karmiks
Karmik settings - common for all its components - are performed.
Table №2. Favorites, karmik information, device updates, general karmik settings
| Tool | Description |
|---|---|
| List of selected components in karmik | |
| Update karmik on all devices. Promptly downloads all changes to karmik components to devices | |
| Karmik information | |
| Karmik customization actions. Access karmiks. Karmik stats |
List of Selected Components
In karmik the User has the opportunity to select components important for him/her by adding them to favorites. To do this, click on the "star" icon on the avatar of the component.
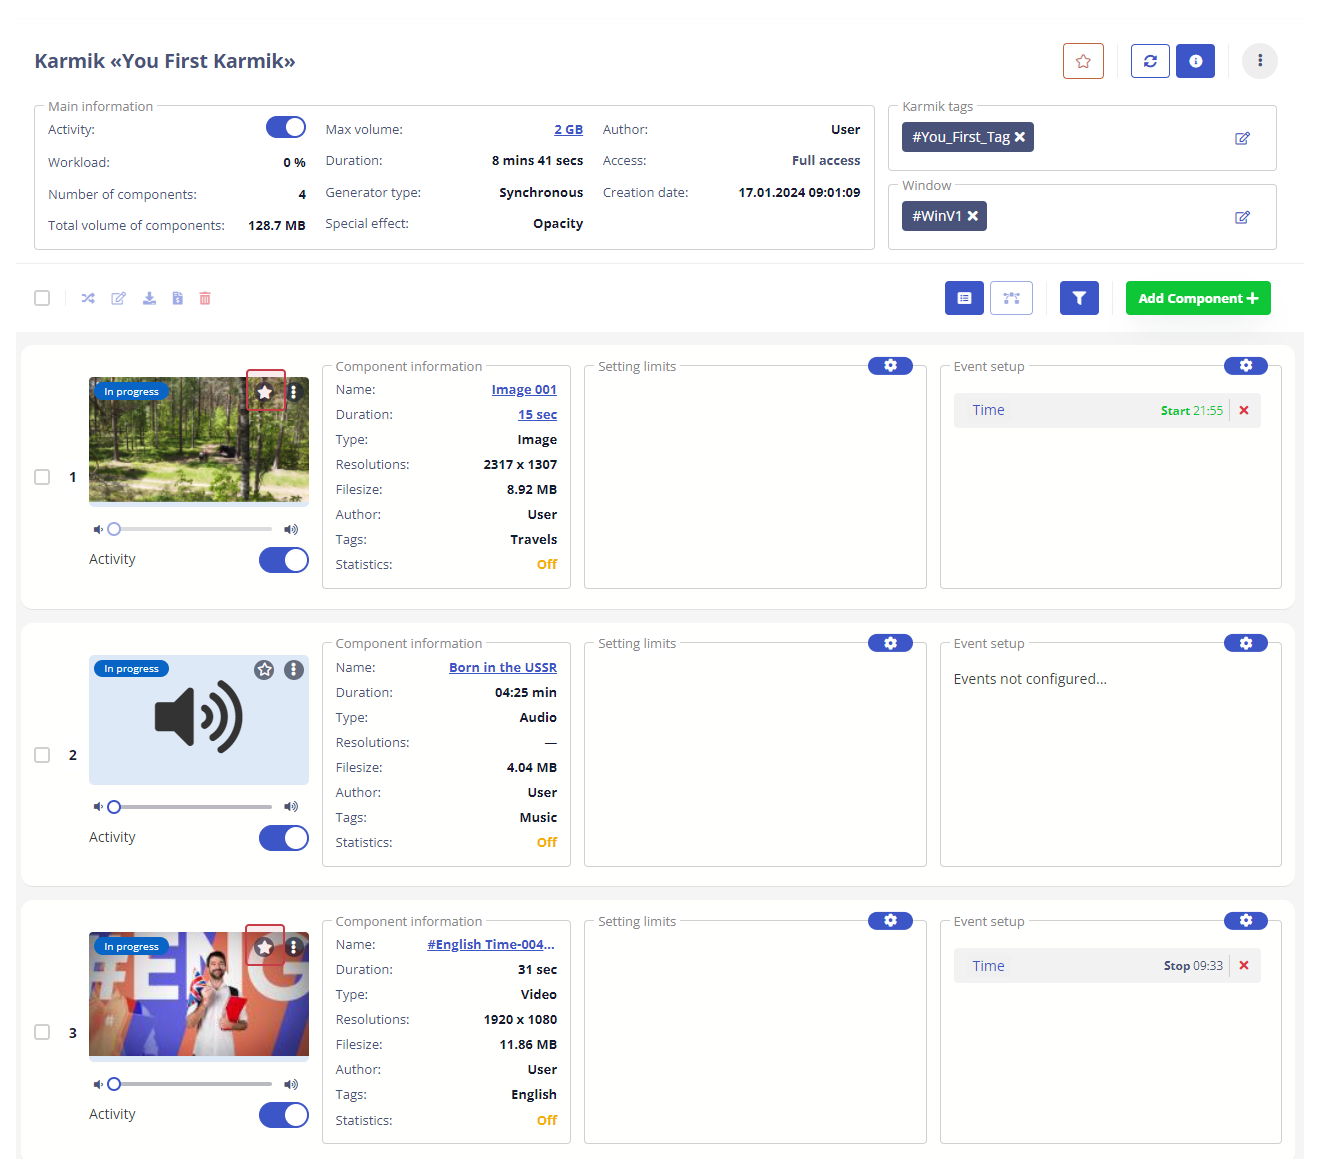
In order to get the list of all favorite components in karmik you need to click on the "star" button.

The main karmik information. Tags
Provided basic information on the current karmik.

If the page is missing Basic karmik information, expand it by clicking
Table №3. Main information on karmik
| Playlist info | Description |
|---|---|
| Enables/disables the entire Playlist to/from broadcast (rotation) on the device | |
| Shows the load on the air, measured in % | |
| Number of components in the Playlist | |
| Shows the total volume of components in the Playlist in bytes | |
| Maximum allowed total volume of components in the Playlist | |
| Shows the total duration of components in the Playlist | |
| Shows the set generator type for the playlist. The generator type is set in karmik settings | |
| The effect of transition between components in the Playlist during their broadcast (rotation). Set in karmik settings | |
| Name of the User who created the Playlist | |
| Access level | Full Access - Viewing and Editing | only View Set by Administrator | |
| The date and time the karmik was created by the User |
Karmik Tags
A Tag is a label (keyword) that tags and catalogs information to facilitate the search process. IT-Screen WEB-application (cloud service) uses tags mechanism to organize subscription of Devices to Karmiks. Thanks to the use of tags, downloading karmik components to a device (subscription) is a simple and universal operation. In the simplest cases it is possible to subscribe all Devices to one karmik, and/or one Device to many (unlimited number) karmiks.

Karmik is assigned the tag #User-Tag1 Read more...
Karmik has been assigned the Window tag #Win1-horizon Read More...
Group editing toolbar
Allows you to perform group operations on karmik components.
Table №4. Group editing toolbar
| Tool | Description |
|---|---|
| Shows the number of selected components for group editing | |
| Random sorting of components in karmik (mix) | |
| Group editing some component parameters (available for group editing) | |
| Downloading selected components to the User disk | |
| Calculating the cost of component impressions | |
| Group deletion of selected components |
Search/Filter. Adding Components. Presenting components in the karmik
Allows you to load items from the Library (create by yourself), organize search for components in karmik by name, filter records by component type. Organize output of components in the form of a list or a timeline.
Table №5. Search/Filter. Loading Components
| Tool | Description |
|---|---|
| Represents components in karmik as a list | |
| Represents components in karmik as a timeline (in development) | |
| Shows/hides the Search/Filter toolbar | |
| Find Component by Name (part of name) | |
| Allows inactive components to be hidden in the karmik | |
| Component tag filter (tags are assigned in Library) | |
| Component Filter by type (Image, Video, Audio, Text, URL, IP-stream, etc.) | |
| Add component button to karmik (create component in karmik, load from Library, load from User disk) |
Component list
The Karmik page area is a numbered list of loaded components in the playlist with rotation rules and options for basic component settings that affect the presentation (rotation) of the component on the physical screen.
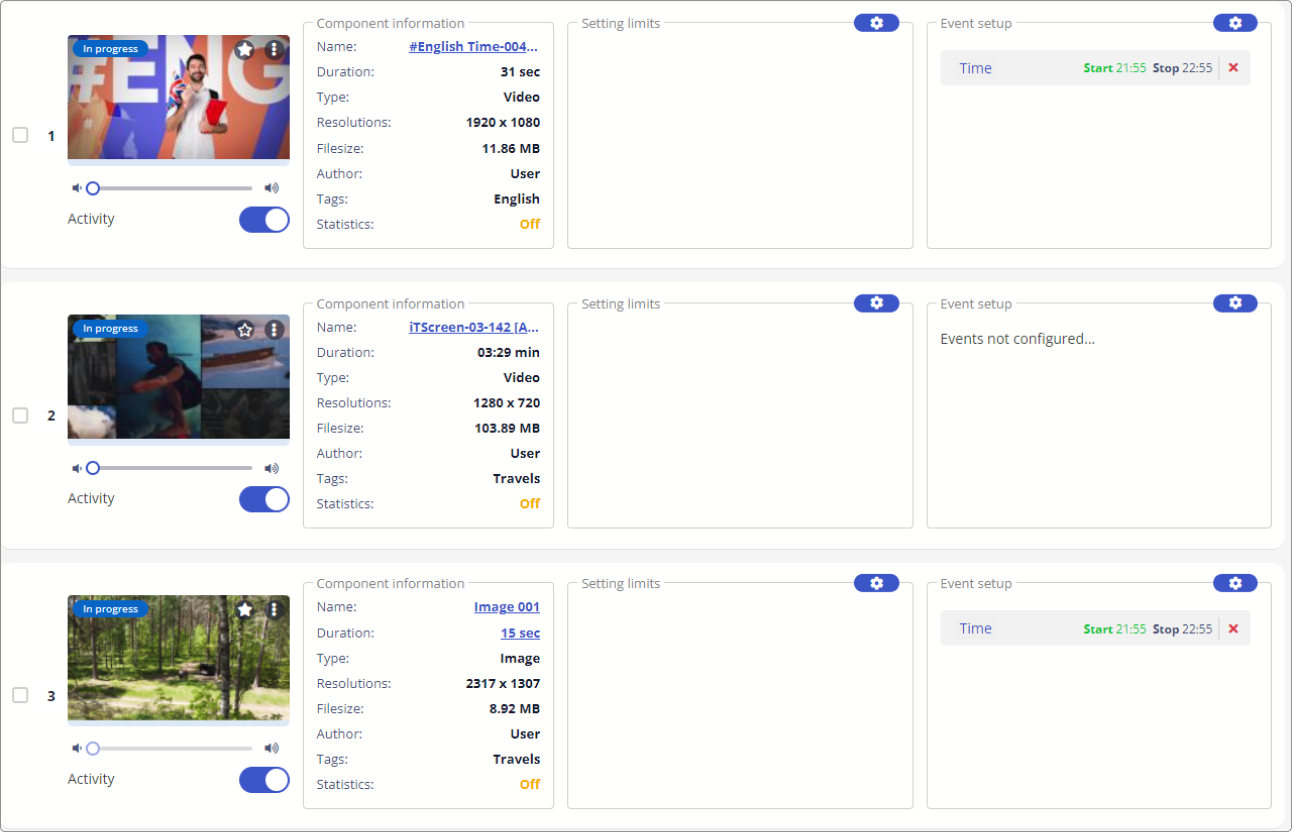
Table #6. List of components in karmik
| Tool | Description |
|---|---|
| The serial number of the component with a checkbox to select the component | |
 | Component avatar with Action menu (three vertical dots) and with a note about component rotation on the physical screen |
| Component volume control | |
| Component activity slider (Enables/Disables component rotation on the physical screen) | |
| Component info | |
| Configuring component rotation restrictions on the physical screen | |
| Event setting - enables/disables component rotation depending on the occurrence/completion of an event |
Actions on the All Karmiks List
Creating karmik
To organize the rotation of components on the physical screen, it is necessary to combine them into a karmik.
Click the button to create a new karmik.
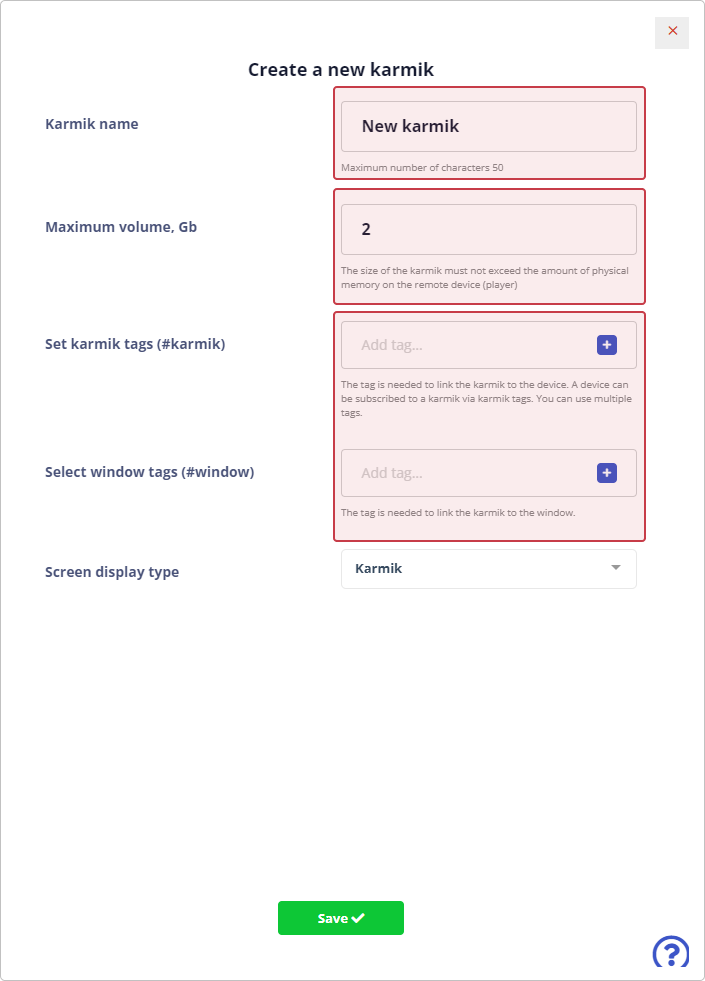
Enter the name of the karmik, the maximum volume of components in gigabytes, leave the type of display on the screen - karmik
Press the button
When creating a karmik in the fields Set karmik tags (#karmik) and Select window tags (#window) only existing tags can be selected. New tags are not created here, so if there are no suitable existing tags for the karmik being created, we leave the fields empty and create the necessary tags when customizing the karmik will be created when customizing the karmik (create karmik tag and create/assign window tag).
The total volume of karmik components must not exceed the volume of physical memory on the remote device (player). For example, for AddBox O-8 devices, the karmik components cannot exceed 2Gb. For information, please refer to the technical documentation for the specific device.
The display type - Electronic Queue is not covered by these instructions.
View of the created karmik

Editing karmik
To edit the karmik, the User can use the button with three vertical dots (Action menu).

Table №7. Editing the Playlist
| Tool | Description |
|---|---|
| Edit Playlist name | |
| Complete duplication of the Playlist with all components settings and restrictions | |
| Delete Playlist |
If the User accidentally deleted a Playlist, it can be restored in Event Log
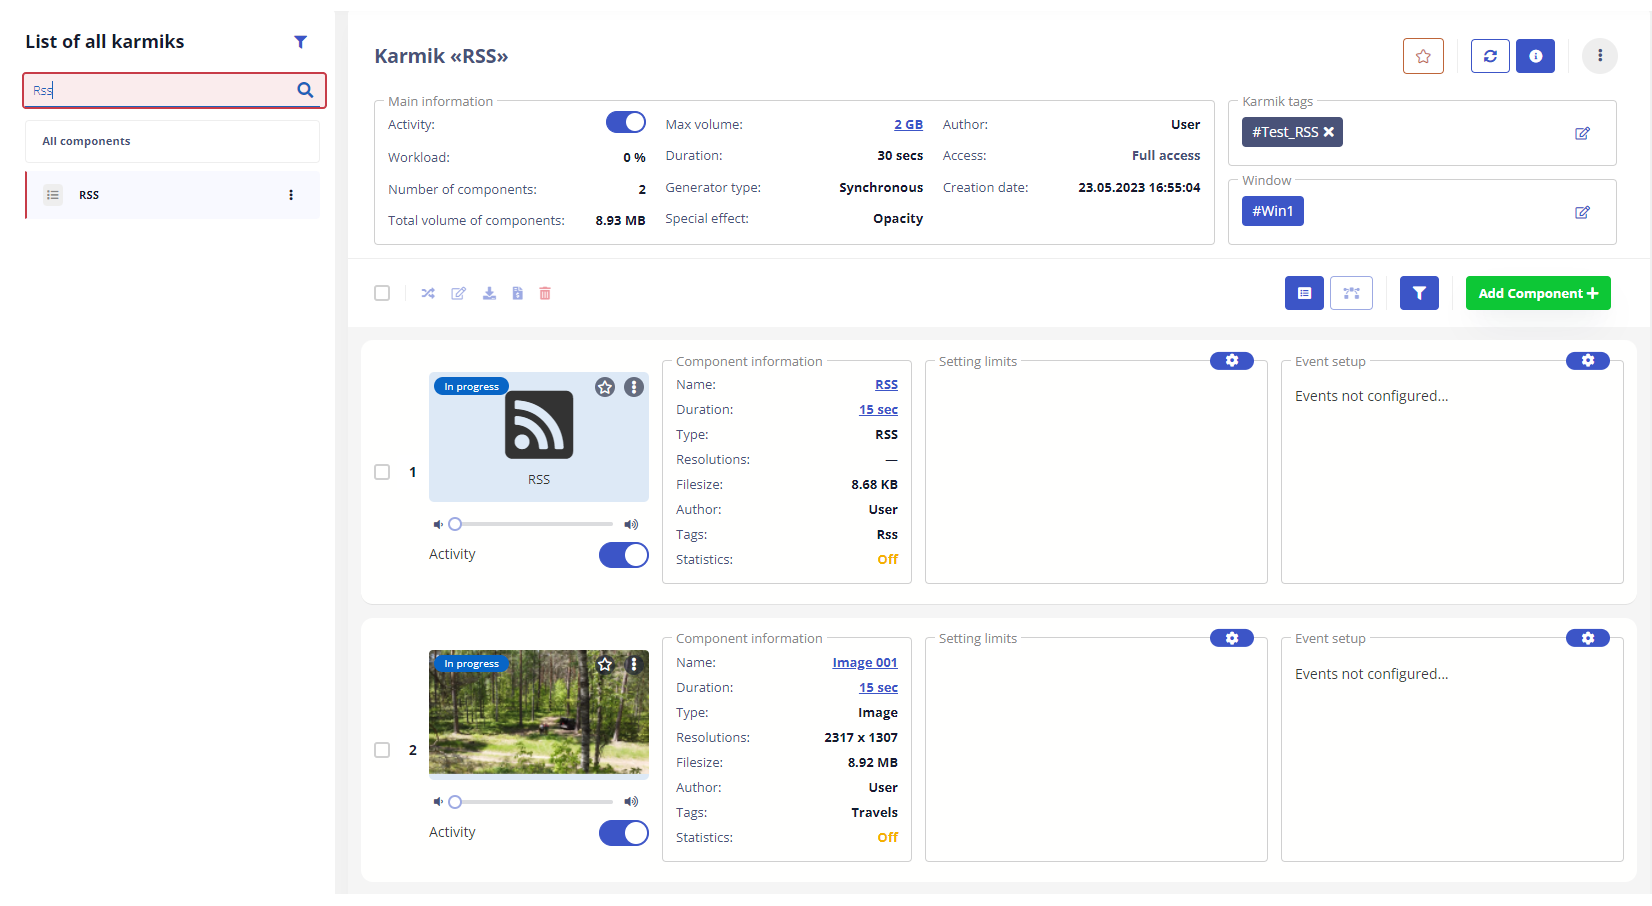
Search for karmiks by name
If you enter part of a karmik's name in the search box, you can find the desired karmik in the list
Search for karmik by name (or part of a name)
Applying filters in the List of all karmiks
Applying Filter allows the User to select karmiks by tag, window tag, author
Add a value to the required filter field and click to apply the filter to the list of karmiks.
Filter karmiks by tags
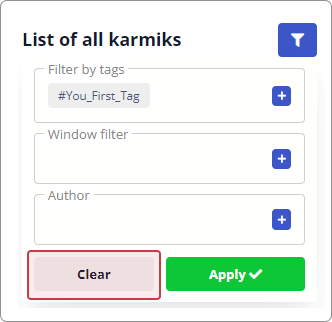
You can reset the filter by pressing the button
Actions to customize karmiks. Access to karmiks. Karmik statistics
Settings of karmiks - common for all its components - are performed. If an organization has several Users, access to karmiks is organized.
Statistics karmik is under development.
Karmik Settings
The general settings of the current karmik are made
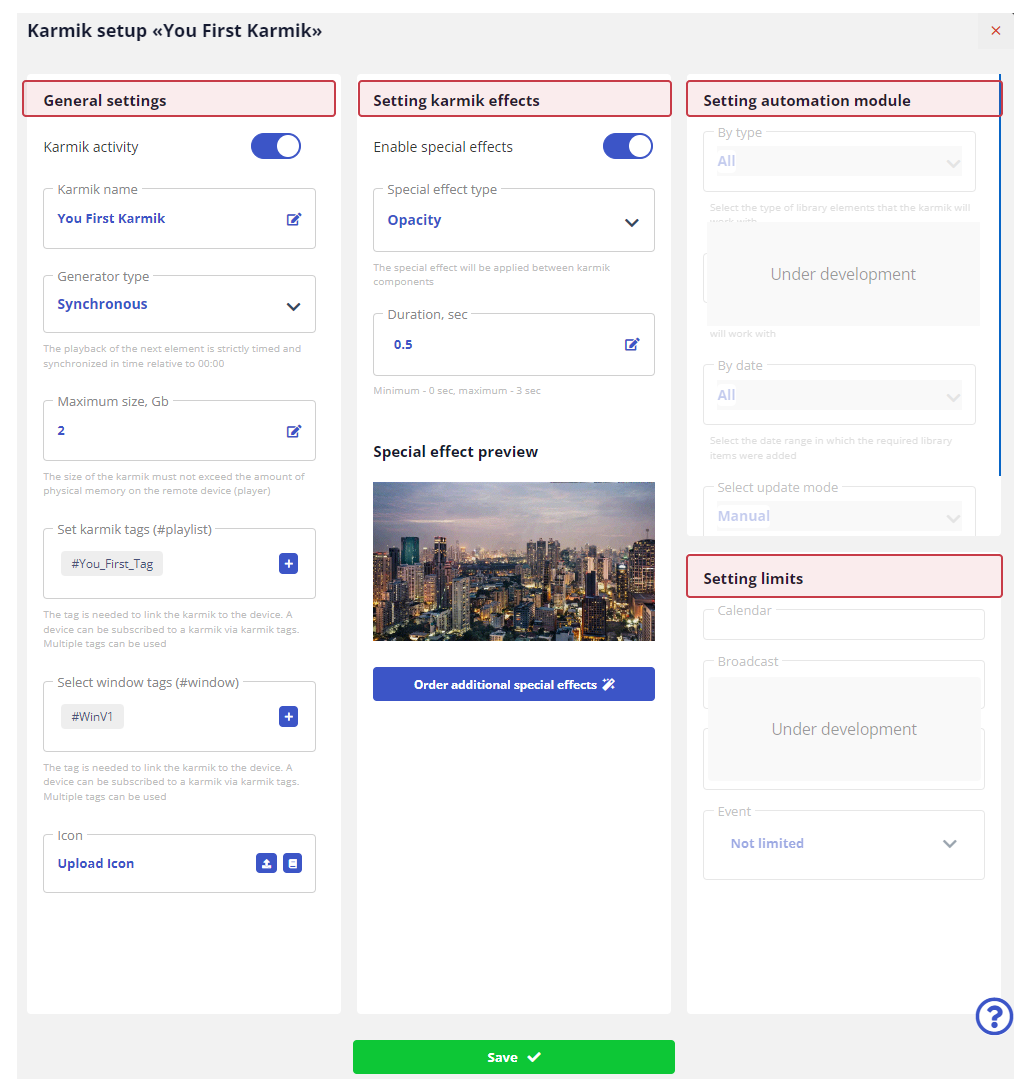
Table №8. General Settings
| Setup | Description |
|---|---|
| Slider - turns karmik on/off from rotation | |
| Edit karmik name | |
| Selecting the generator type | |
| Editing the maximum volume of components in karmik | |
| Karmik tags are set | |
| Sets the window tags | |
| Selects an icon for the karmik. You can load an image from the Library as an icon |
Generator - a mechanism depending on which karmik components are temporally synchronized during rotation
The following types of generators are used:
Synchronous - Playing of the next component is strictly calculated and synchronized by time relative to the time of day 00:00. When this generator type is selected, the number of plays per hour parameter is available.
Also with this type of generator and if you subscribe karmik on different devices - content on these devices will be time synchronized. Another feature of this generator is that if a "heavy" component is loaded into the karmik for playback by a device,
then the broadcast of such content will be interrupted to provide a time synchronized start for the next component.
Asynchronous - Playback always starts with the first component of the karmik and occurs in the sequence of the components in the karmik.
Map - Playback of the next component depends on the previous state of the player or content. This type of generator is intended for use in public transportation (buses, shuttle buses).
Random - Playback of karmik components will be in a chaotic order (different from the order of the karmik model).
The size of karmik components must not exceed the size of physical memory on the remote device (player). For example, for AddBox O-8 devices the karmik component capacity cannot exceed 2Gb. For information, please refer to the technical documentation for the specific device.
Karmik Tag is a mandatory parameter. It is necessary for linking karmik to the device (subscription). The device can be subscribed to the karmik via tags. Multiple tags can be used
Window Tag - mandatory parameter. It is necessary for linking karmik components with the size (resolution) of the physical screen or its part. Using the window tag you can display content both in the size of the whole physical screen and a part of it
Table №9. Setting up karmik special effects
| Setup | Description |
|---|---|
| Slider - enables/disables the effect of transitions between components in karmik | |
| Select the transition (special effect) from the list | |
| Sets the duration of the transition | |
 | Preview transition window |
| Special effect order button |
Special Effects - transitions between components in karmik. The following special effects are used:
Transparency - one component replaces another using a transparency effect
Flip - uses page flipping effect
Slider - the next component in the karmik "pushes out" the previous one.
Table №10. Configuration of the automation module
Automation module settings are under development
Table №11. Setting restrictions
Setting restrictions are in progress
To apply the changes you made, press the when finished!
Access to the karmiks
User can organize different access levels (Full Access and only View) to their karmiks for all users of IT-Screen WEB-application

A user with View Only permissions will not be able to edit or delete components from the karmik. Rotation restriction settings will also be unavailable.

In this example, User User has granted only View access for their karmik New karmik to User Other_User
Actions to populate karmik with components and create/assign tags
To organize content rotation on physical screens, you need to populate the karmik with components after creating it.

Adding components to karmik
The required content is considered to be prepared on the User's computer (or other device) or preferably uploaded to the Library
Click the button
It is suggested that you choose one of the possible options:
1. Create a new component Link how to create a new component
2. Download the component Components are added to the playlist directly from the User's computer (or other device).
When directly loading content into a karmik - components will have no tags. How tags are created and assigned to an element/component can be read here...
3. Add from Library
Let's focus on the option of downloading from Library as the recommended one.
Let's choose
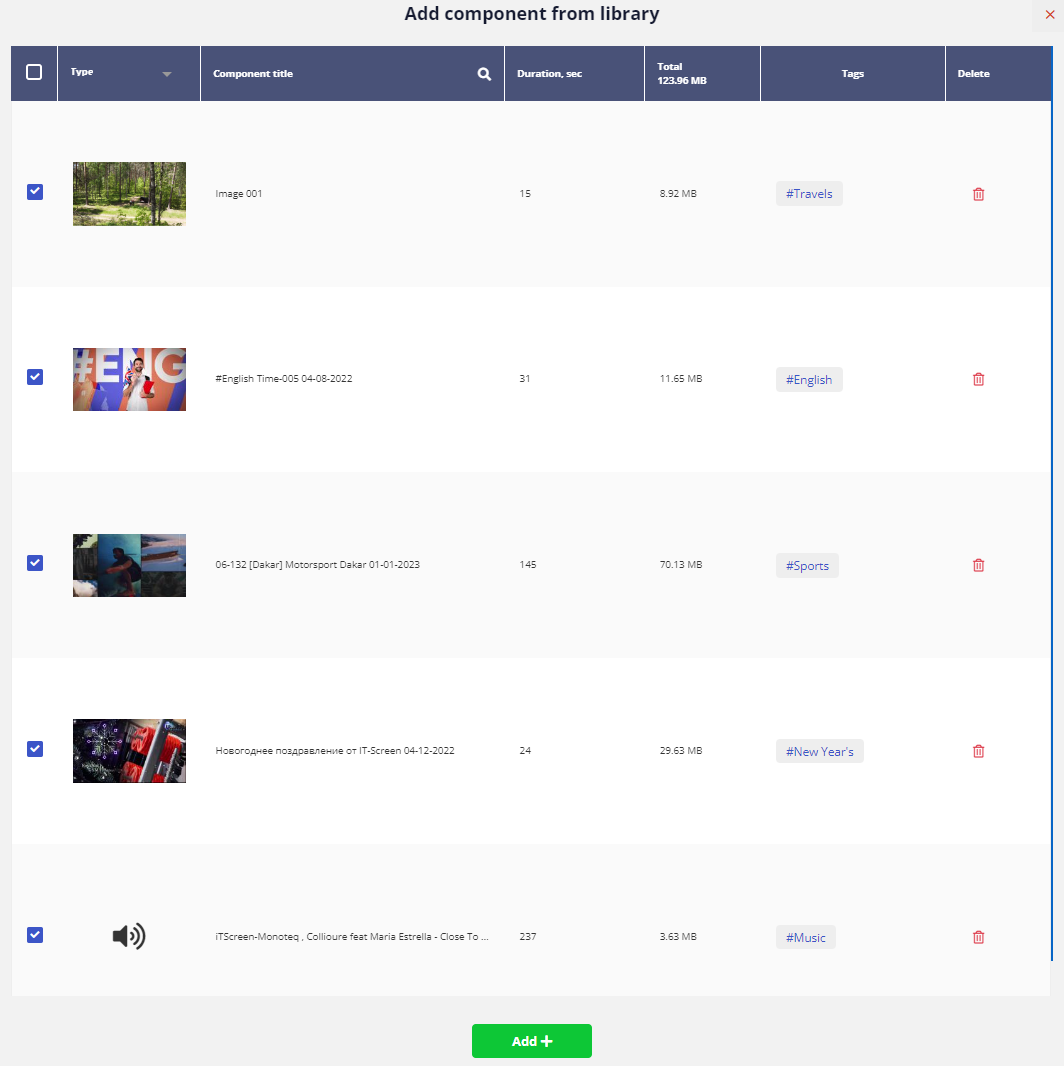
Select the required components and click the button
After a short download (depends on internet speed), the components will appear in karmik
Creating/Assigning a Karmik Tag
The tags mechanism allows to make device subscription to karmiks universal. In the simplest cases it is possible to subscribe all devices to one karmik, and/or one device to many (unlimited number) karmiks.
Creating a karmik tag
In the Karmik tags area, click on the "edit" icon
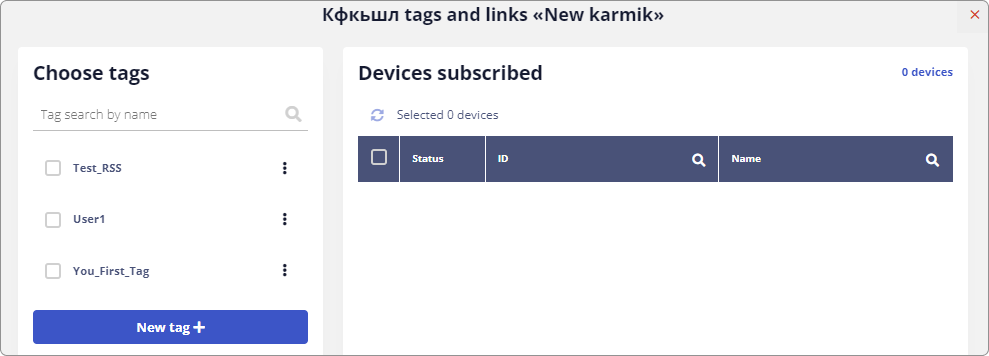
In the Karmik tags and Links window that appears, click button.
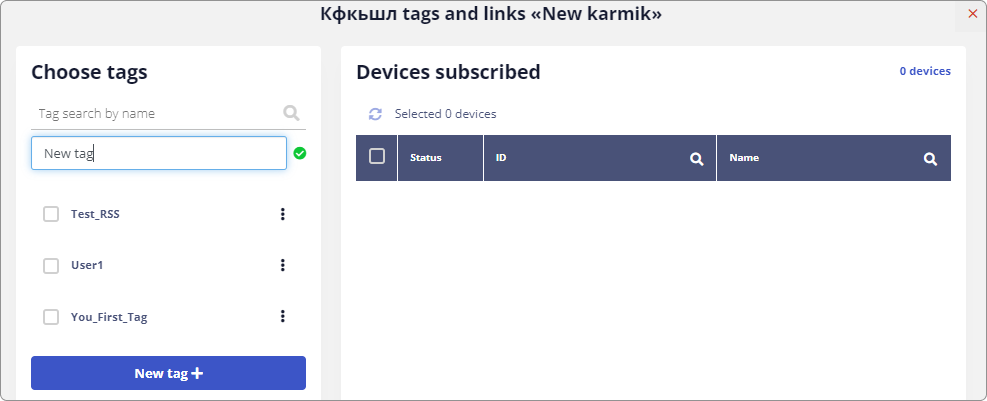
Enter the name of the tag and click the button
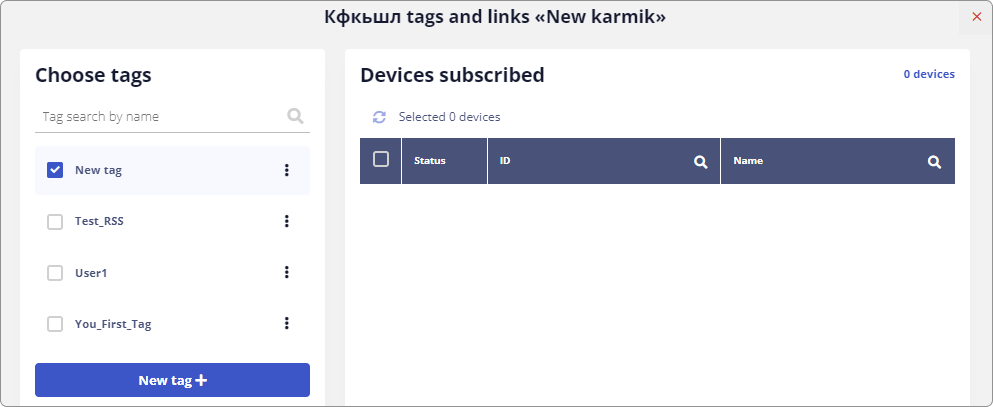
Mark the created tag in the checkbox and click button
Karmik is linked to the tag created.
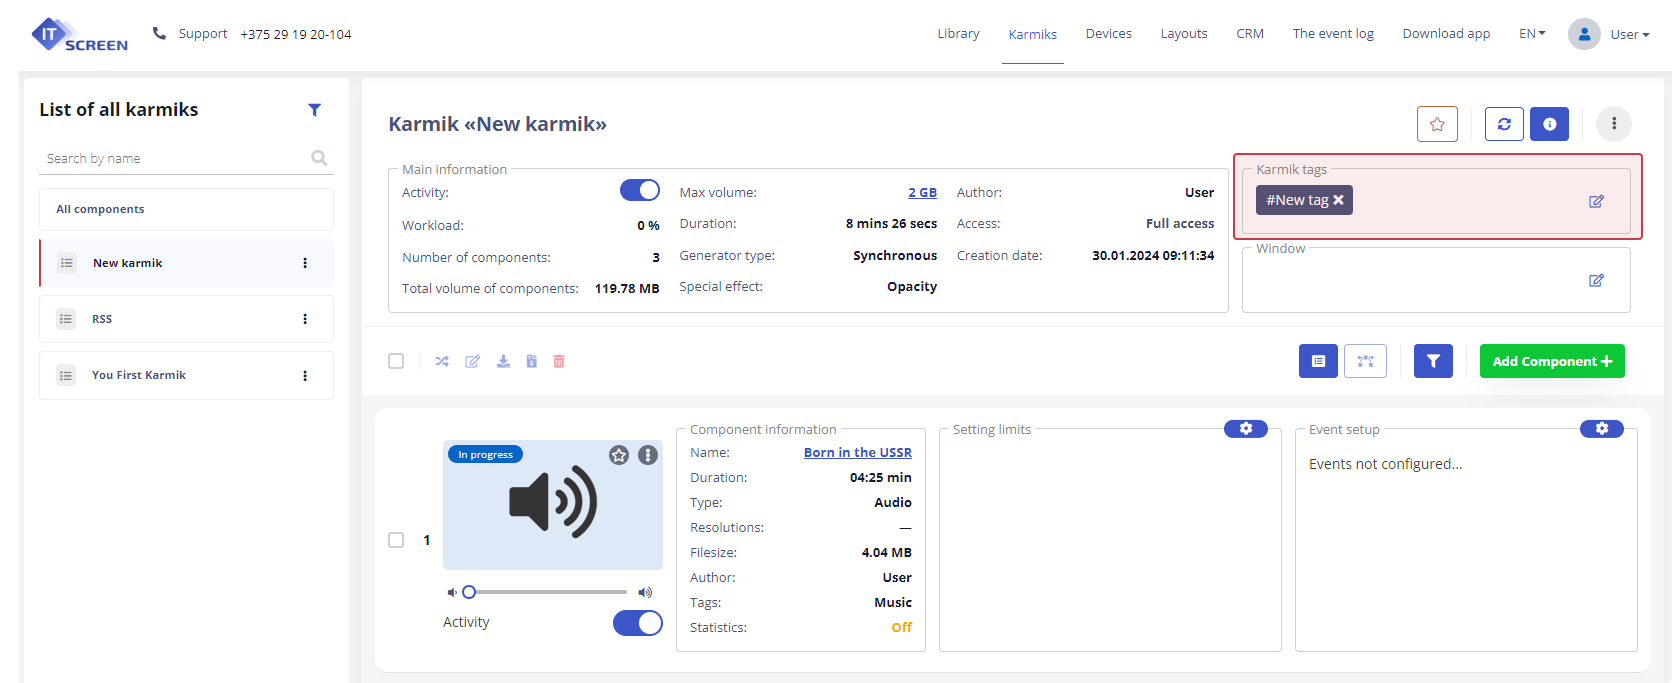
Assigning karmik tag(s)
The user can apply a tag already existing in the WEB-application. This can be done at the stage of karmik creation or selected in the Tags and links window of the karmik.
Using the Find tag by name field or manually select the required tag(s) by clicking in the checkbox.

1 - Search by tag name
2 - Selected tag for karmik
Click button
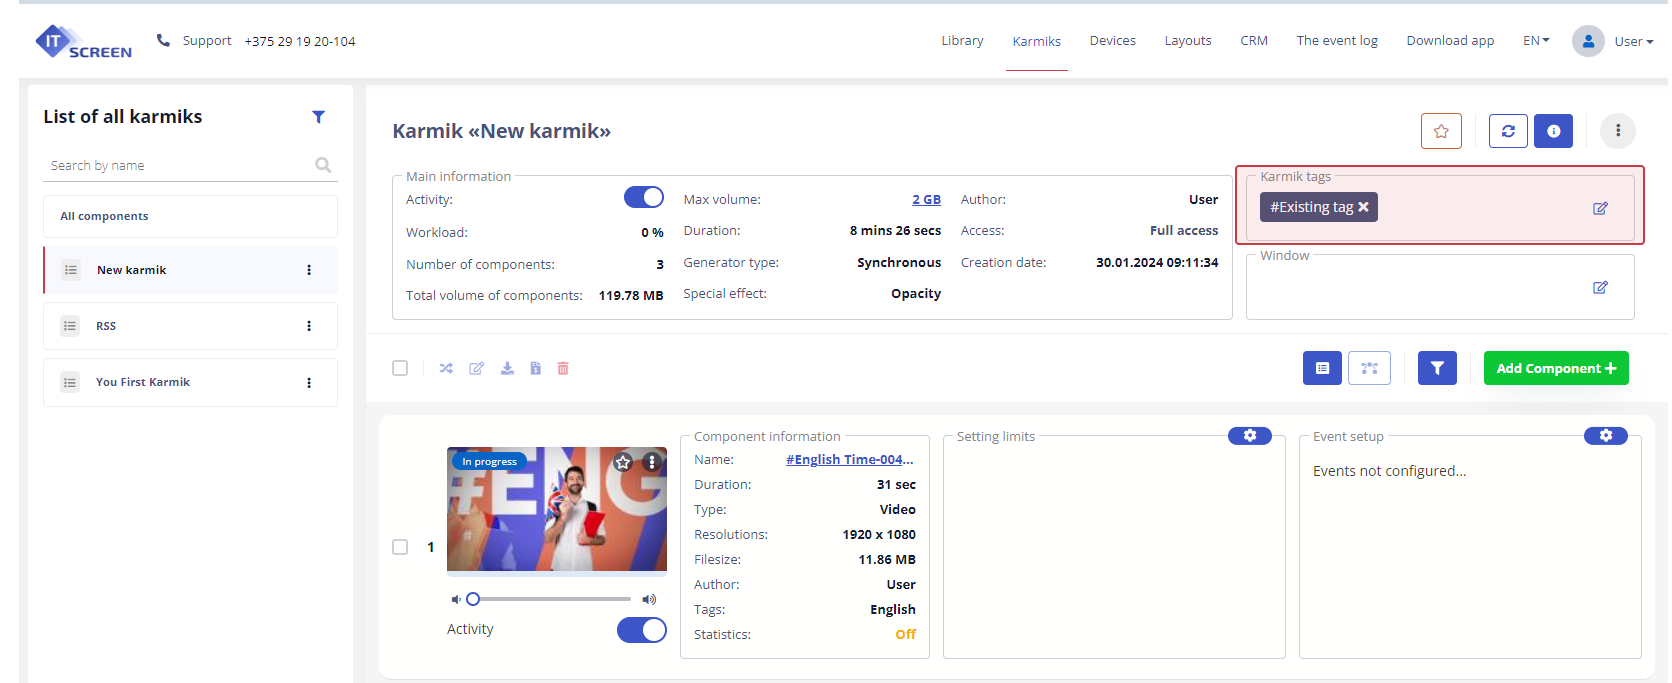
Creating/Assigning a Window Tag
Window's tags mechanism allows you to broadcast content on the full physical screen as well as on a portion of it.
Creating the Window tag
The ability to create a Window tag is under development. The user is offered to use already existing window tags or contact the IT-Screen Company's Technical Support Service.
Assign the Window tag
In the Window Tags area, click on the "edit" icon
 In the Window List window that appears, select (click in the checkbox) the appropriate window tag and click
Karmik is ready to be broadcast on User's devices
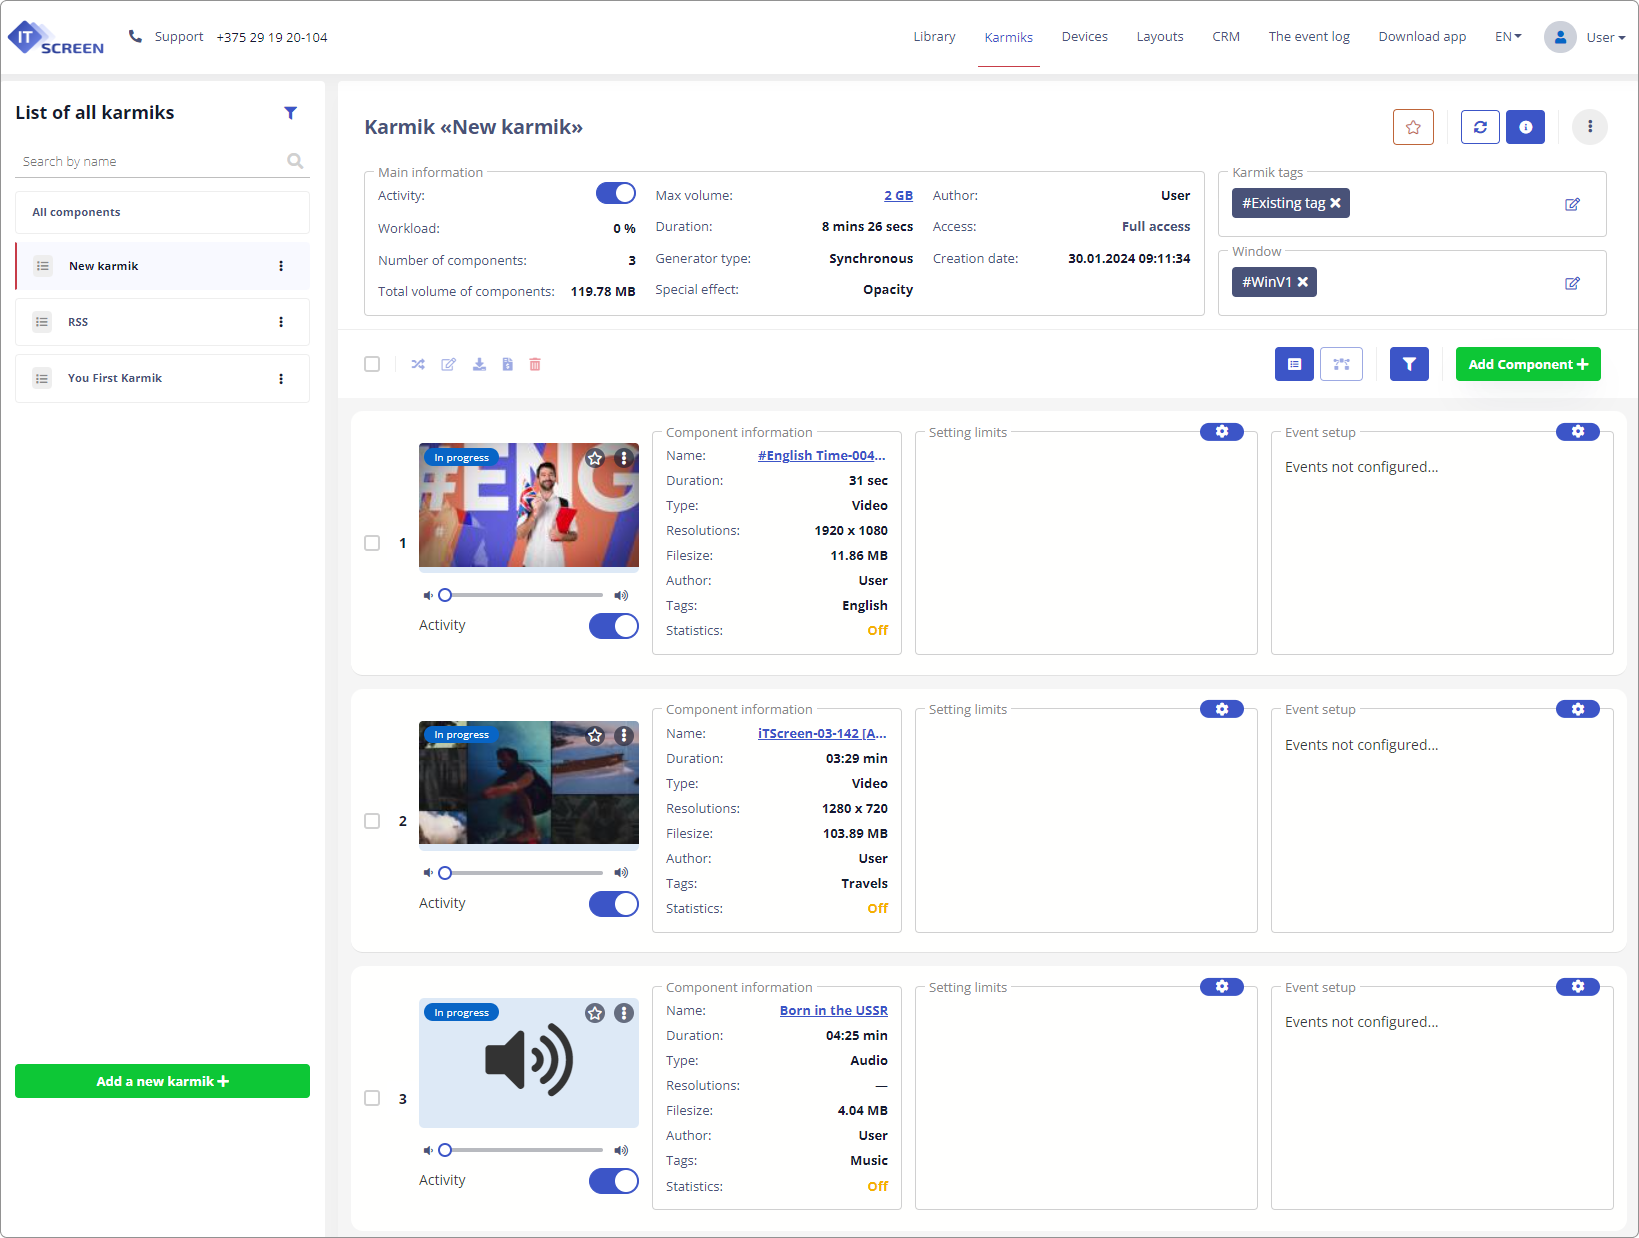
If there are no karmik tag and window destination areas in the karmik workspace, click on button to show additional karmik areas.
Search/Filter Components in karmik
The IT-Screen WEB-application organizes search and filtering of components in karmik.
Searching for components in karmik
Click the button to activate the search and filter tools.
In the Component search field, enter the name (or part of the name) of the component.

Filter components by Activity
The filter allows you to hide all inactive components
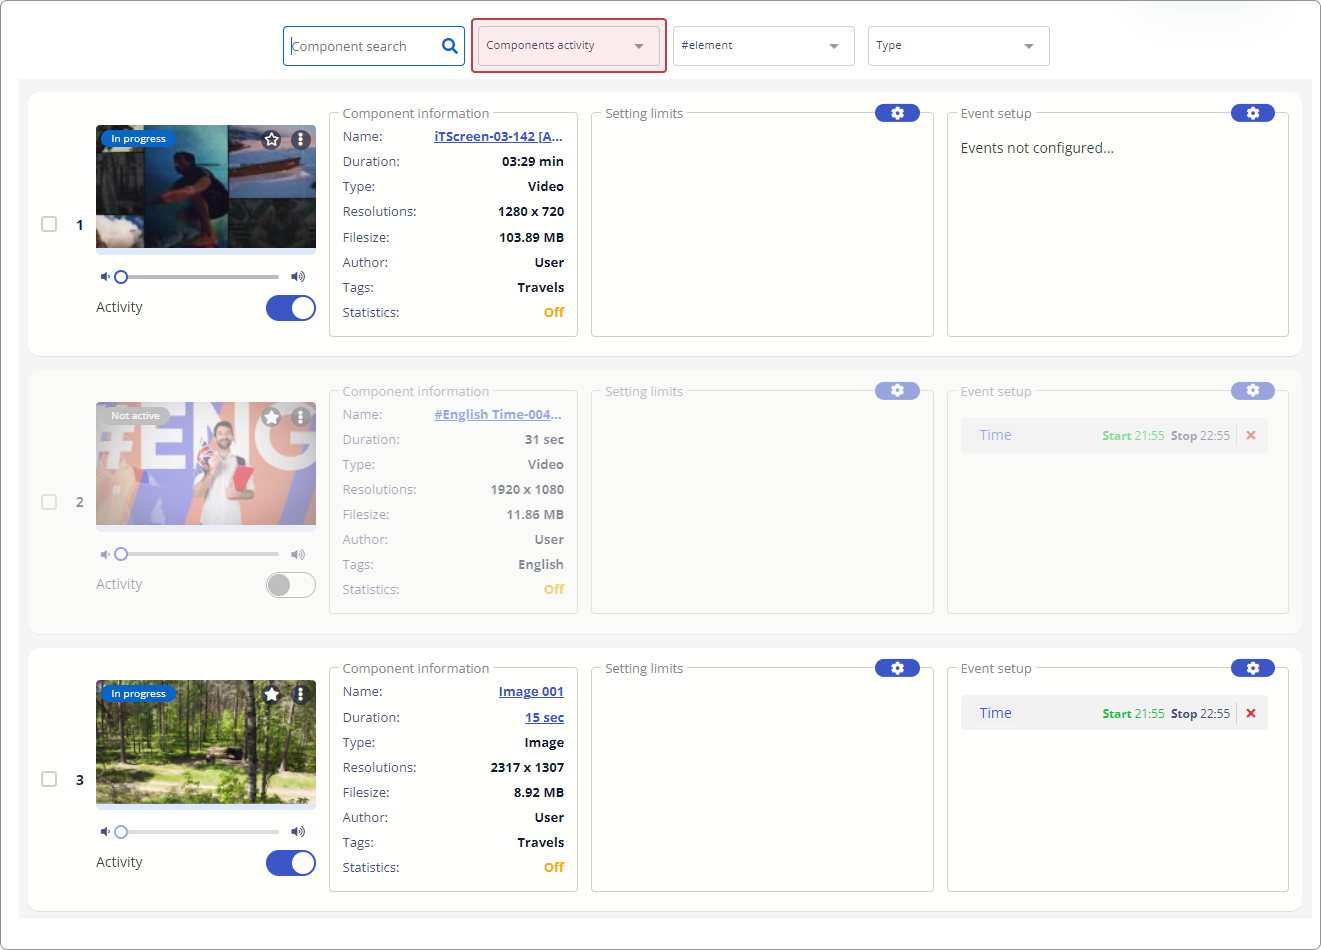
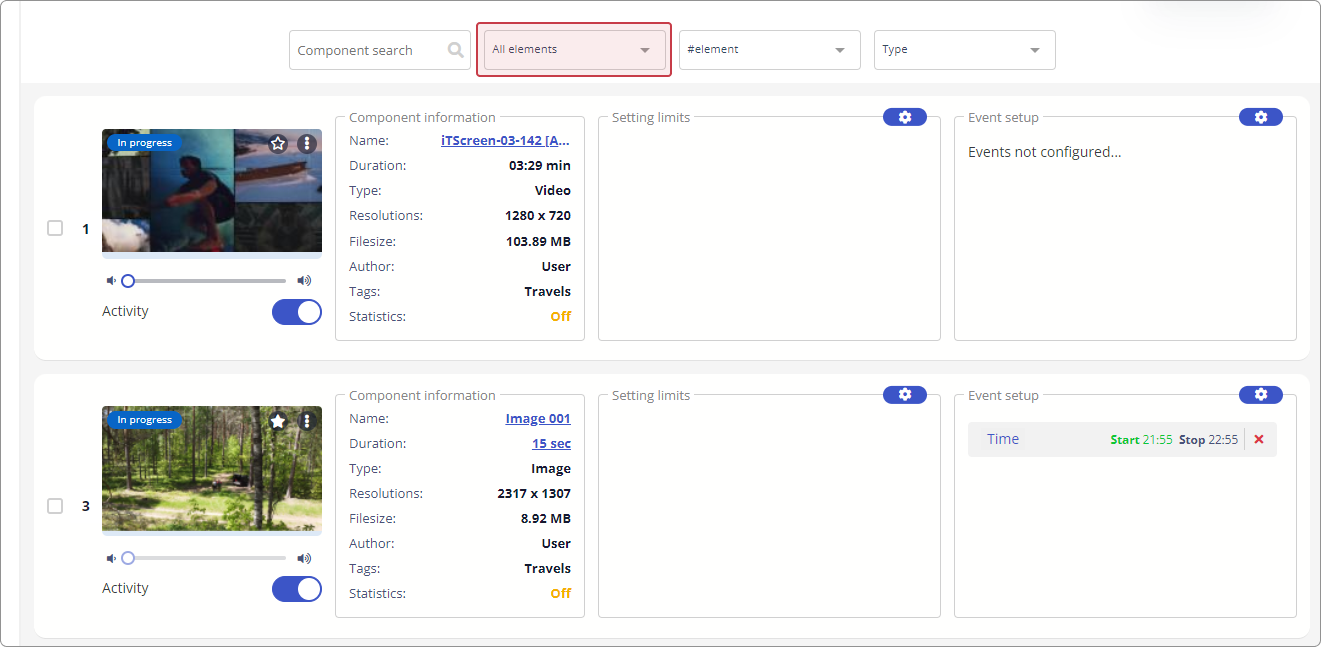
Component filter by item/component tag in karmik
In the #element field select the required tag (or several tags) from the list

Component filter by type
In the type field select the required component type from the list.
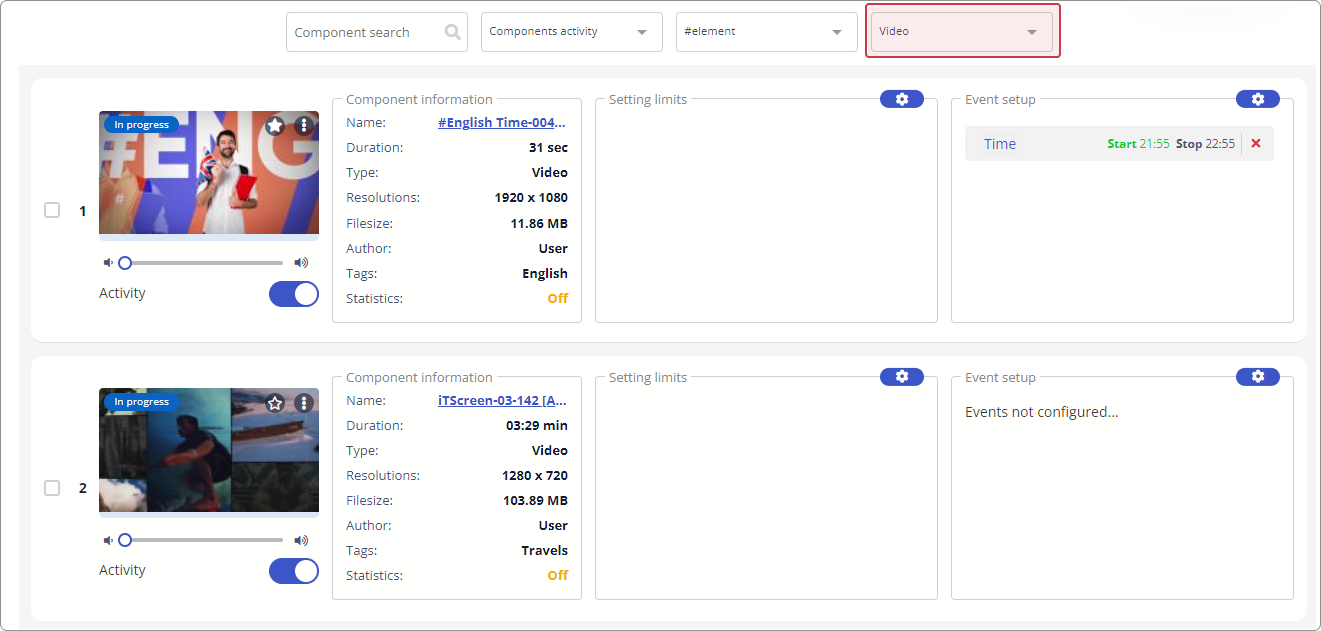
The filter is performed on all types supported by the WEB-application components.
Types of component list presentation
In the WEB-application IT-Screen karmik can be presented in two views
Presenting components in karmik as a list
When you click on the button, the components in the karmik will be presented as a list
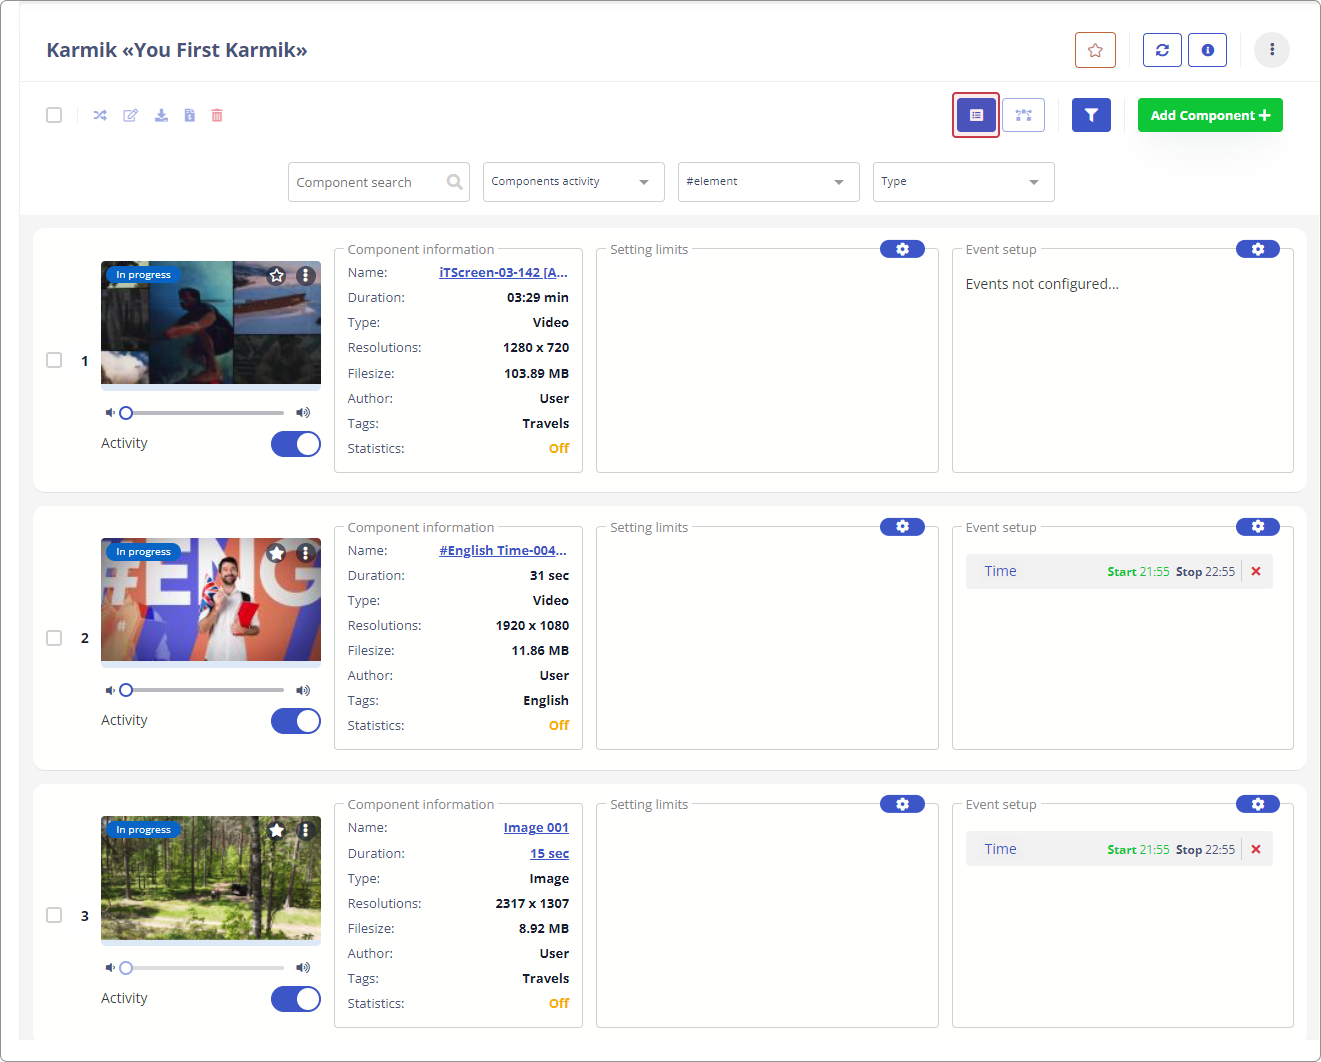
Presentation of components in karmik in the form of a timeline
The timeline representation of components in karmik is under development
Actions when editing karmik components. Setting restrictions
This section describes the steps to further customize content rotation on the physical screen.
Editing a component
A button with three vertical dots (Action menu) is available for the User to edit the component.
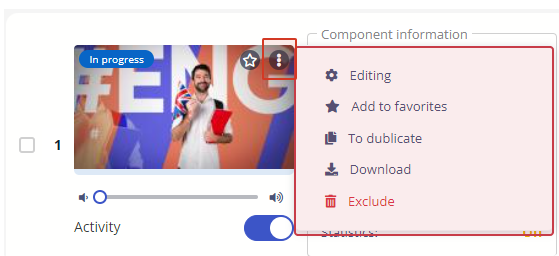
Component editing modes
| Tool | Description |
|---|---|
| Editing all the parameters of the component | |
| Add to favorites - under development | |
| Duplicate the component with all its settings | |
| Download the component to the User's computer | |
| Removes the component from the playlist, and if necessary from the library |
Editing a component
Select from Action menu mode
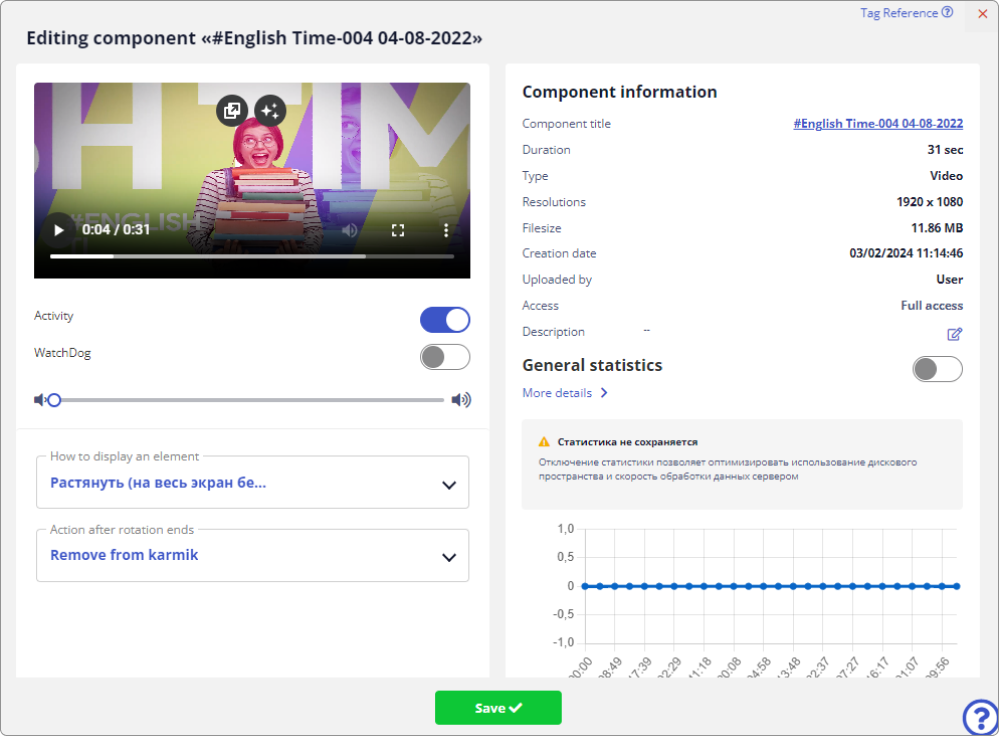
| Tool | Description |
|---|---|
 | View component with built-in player |
| Slider - Enables/disables a component from rotation | |
| WatchDog Slider -Enables/disables component rotation reporting (video and widgets only) | |
| Component Display Modes on the physical screen | |
| Action After Rotation Ends | |
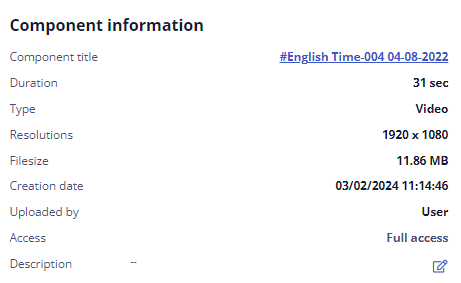 | Component information. It is possible to edit the name and add a description to the component |
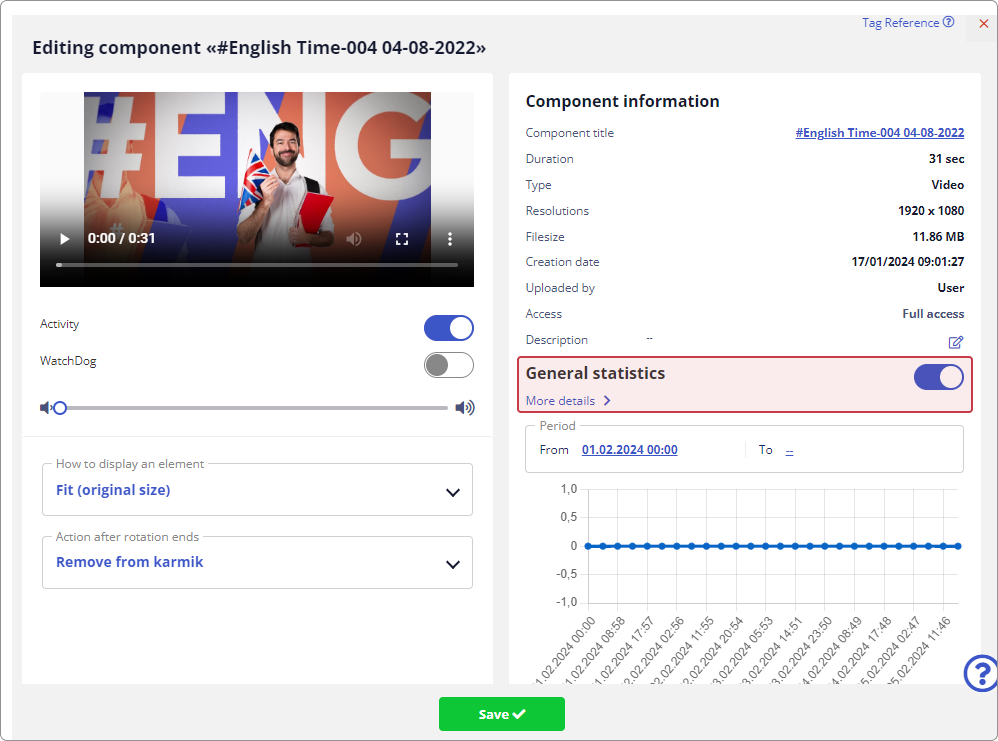
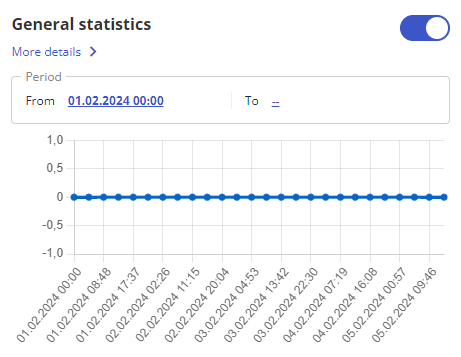 | Enables/disables the collection of statistics on component rotation (calculation of the number of impressions (billing)) |
Modes of displaying the component on the physical screen
Component display modes offer to embed the component into the physical screen in the following ways:
- Stretch to full screen without preserving the aspect ratio - the component image fits completely into the physical screen dimensions. It is used when there is a small mismatch between the resolution and aspect ratio of the component and the screen. Excludes viewing the background behind the image.
- Fit to original size - the component image with preserved aspect ratio fits into the physical screen dimensions. In case of mismatch of physical screen and component sizes, it is possible to view (at the screen edges) the background behind the component.
- Crop to full screen with preserved aspect ratio - if the component image resolution is larger than the screen resolution, the component image is cropped to the edges with preserved aspect ratio.
Action after the end of the rotation
If you set rotation restrictions for a component, the following actions are possible:
- Leave in karmik and mark red - the component remains in the karmik, is highlighted in red, and no longer participates in the rotation. Recommended mode.
- Remove from karmik - the component is removed from the karmik when its rotation limit occurs, but remains in the library.
- Remove from karmik and library - the component is removed from the karmik and library when its rotation limit is reached.
After making all changes, you must click
Setting restrictions
Constraint settings are settings of temporal and quantitative constraints on the rotation of a component on the physical screen.

Enter restriction setting mode by clicking
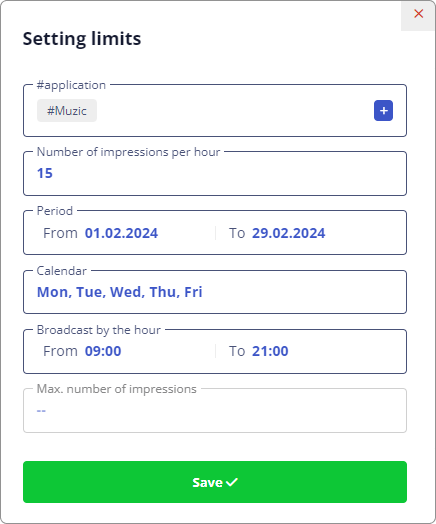
Component rotation settings
| Setting | Description |
|---|---|
| Setting the tag #application. This parameter is used to assign programmable controller outputs in automation. It is under development. | |
| Set the number of component displays each hour. The parameter is not available if a generator other than synchronous is selected or if any of the events are set. | |
| Setting the rotation period of the component (start date and end date) | |
| Setting the rotation period of the component by weekday | |
| Setting the component rotation by hour | |
| Setting the maximum number of times the component can be displayed per rotation period |
When all settings are complete, click button.
Event Setup
To enter the event setup mode, press the button.
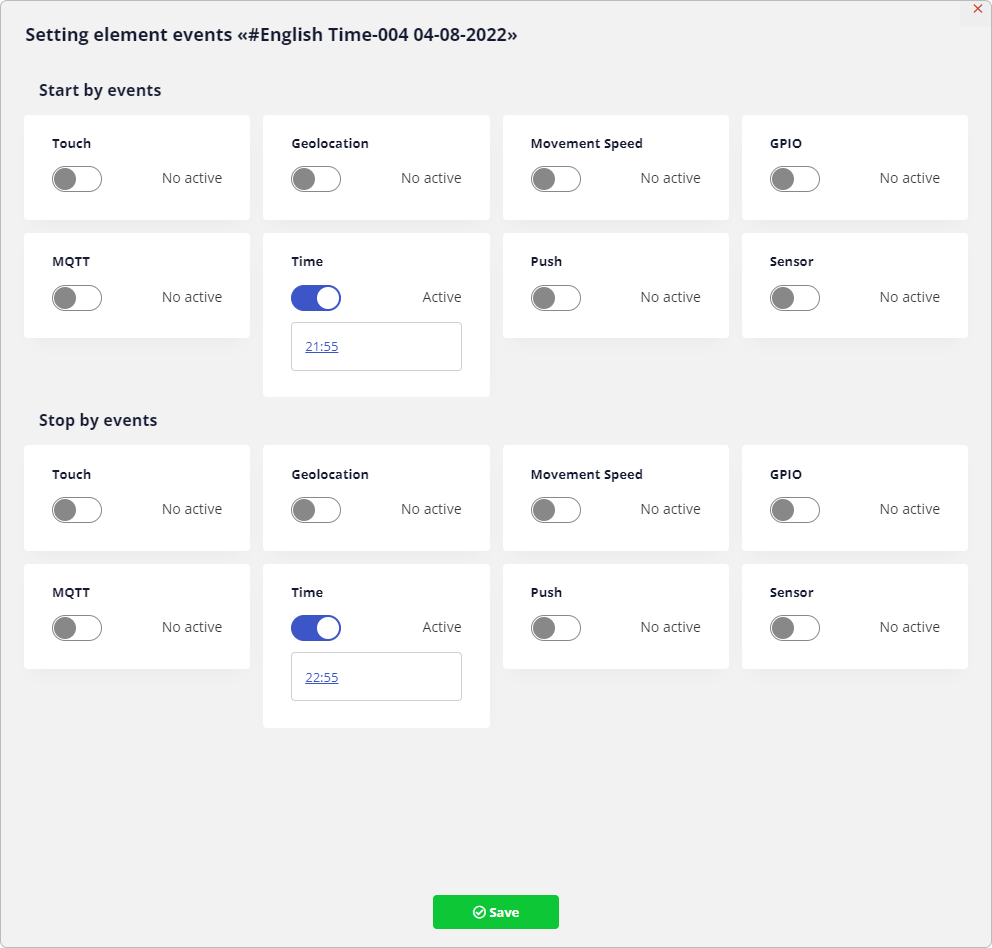
For the selected karmik component, events (start and/or stop) are configured from the possibly available ones. The list of events is subject to change.
View of fully customized component

Actions during group operations with karmik components
The Group Edit mode allows the User to quickly perform mass operations on components.
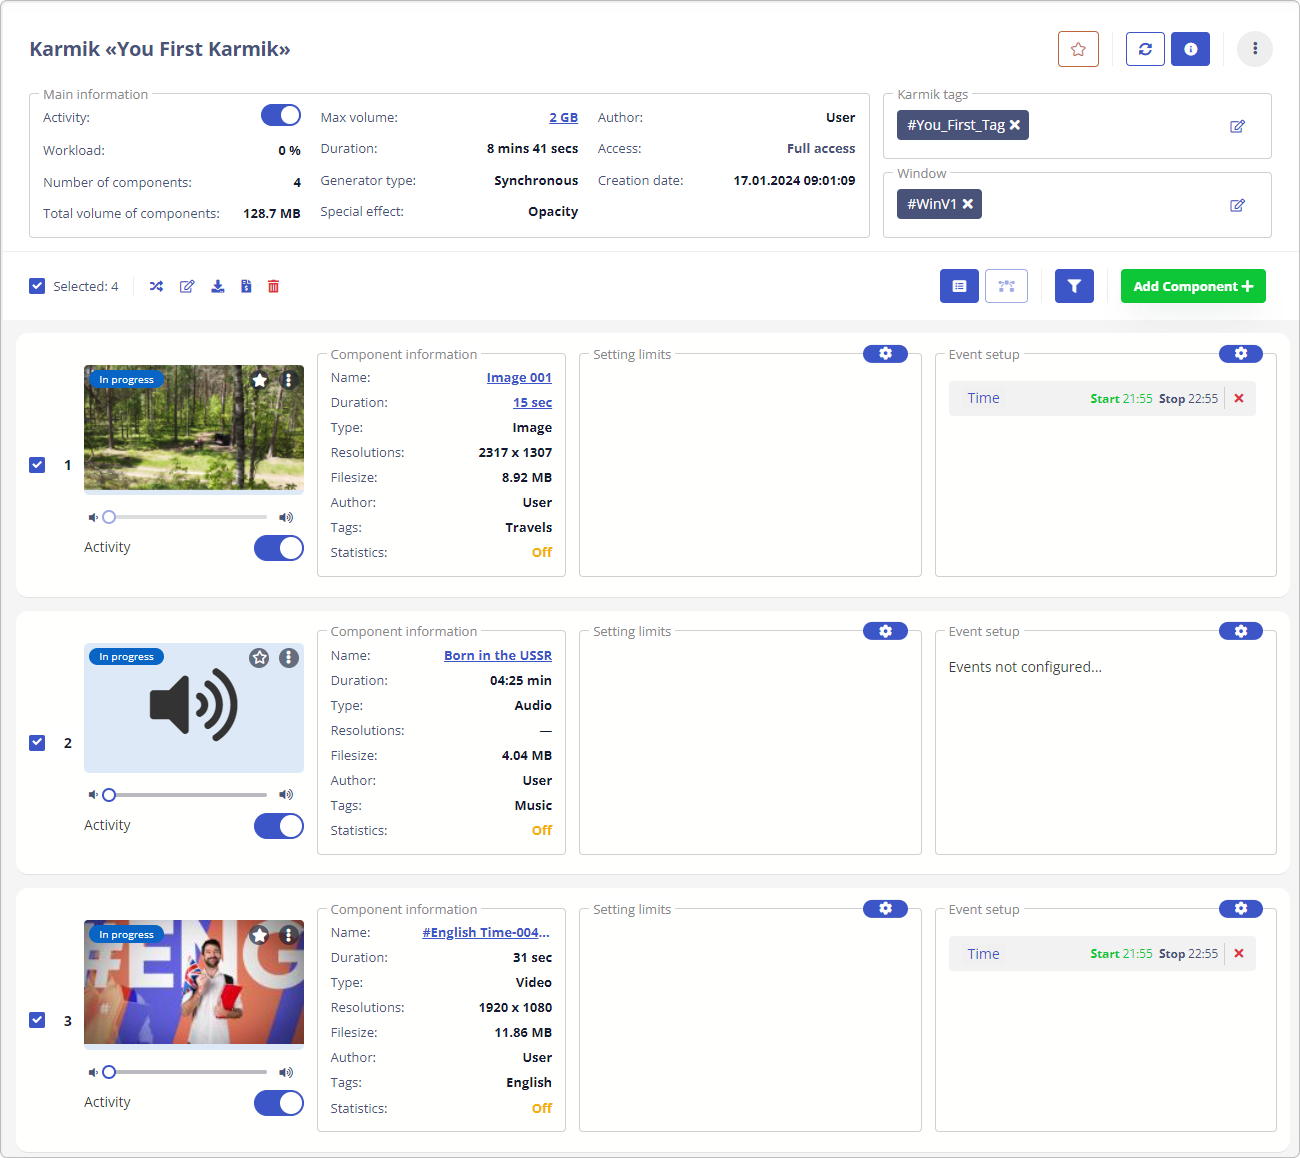
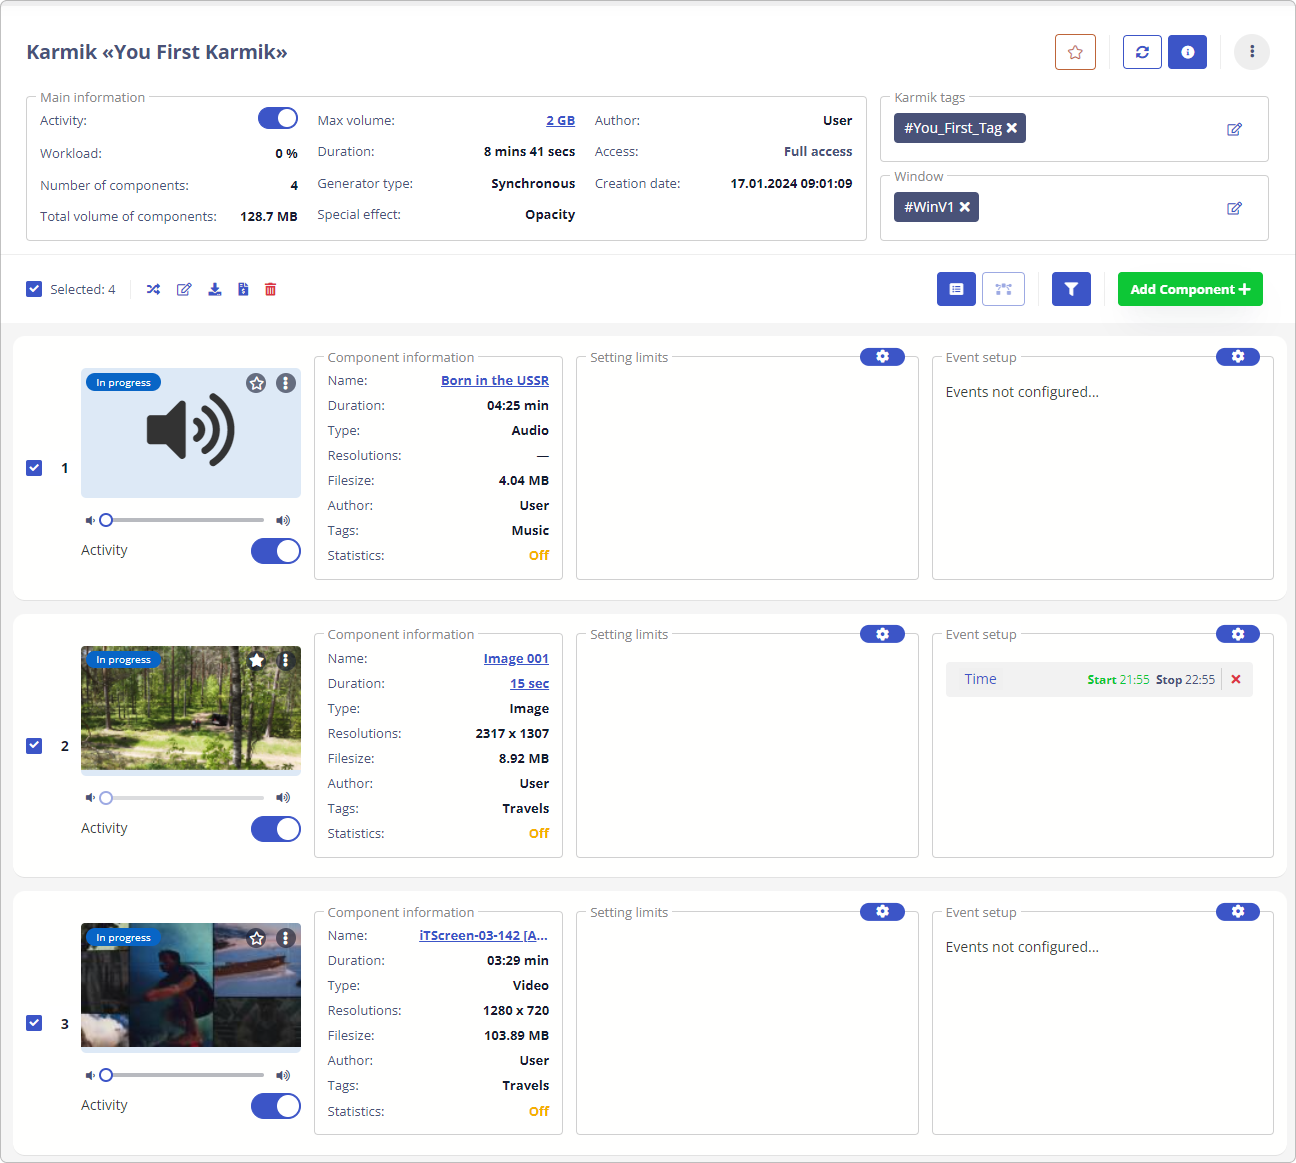
Random distribution of components in karmik 
When the button is clicked, the components in the karmik are "randomly" sorted
| Before clicking | After clicking |
|---|---|
 |  |
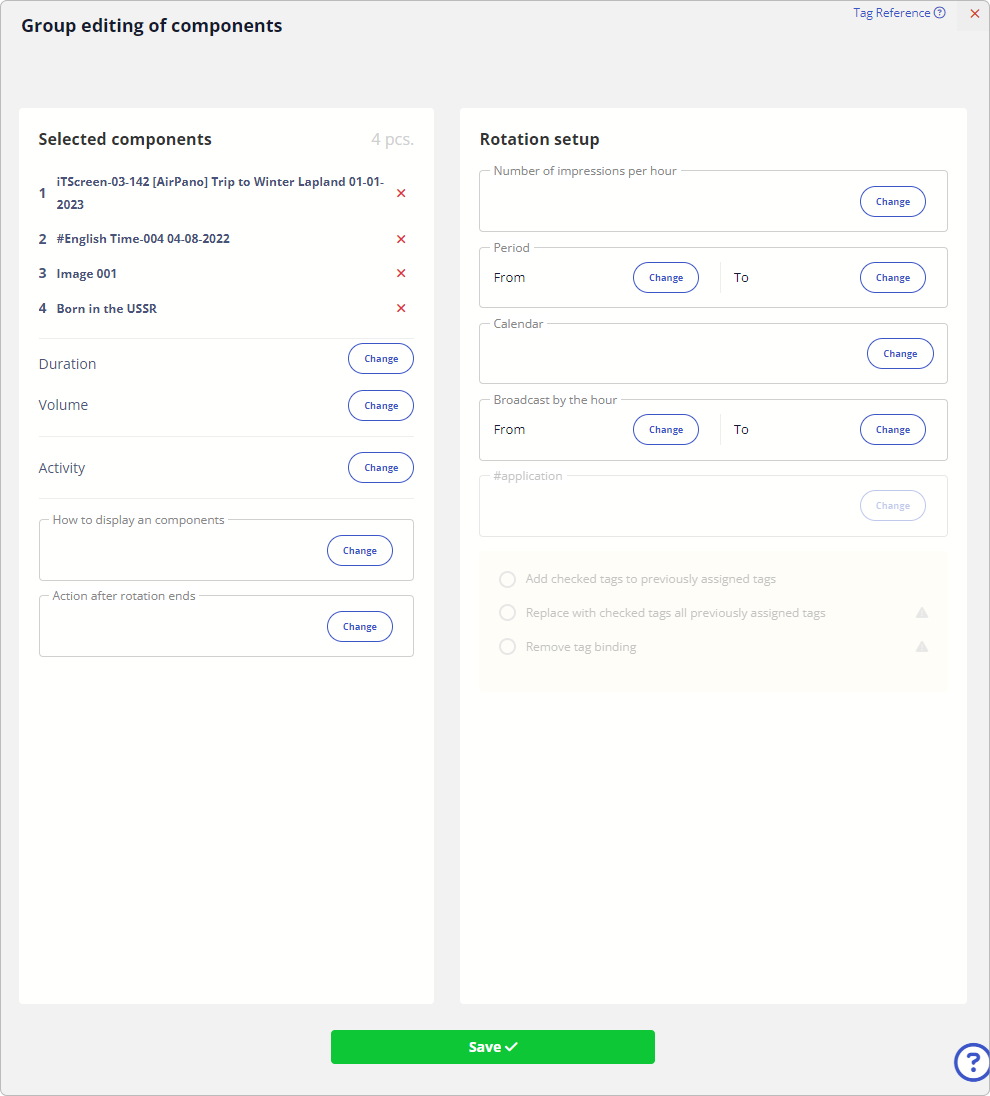
Group editing of components in karmik 
Allows the User to change such parameters of the component as:
- Activity
- Volume
- How to display an components
- Action after rotation ends
- Rotation settings
for the selected component group, and perform group operations on tags:
- Add checked tags to previously assigned tags
- Replace with checked tags all previously assigned tags
- Remove tag binding
Downloading selected components to the User disk 
All components selected by the User are downloaded to the local disk of the User's computer (or other control device).
Billing by set of components 
Billing - is an automated system for calculating the cost of displaying both a separate component and all components within a karmik. It is in demand when conducting advertising campaigns.
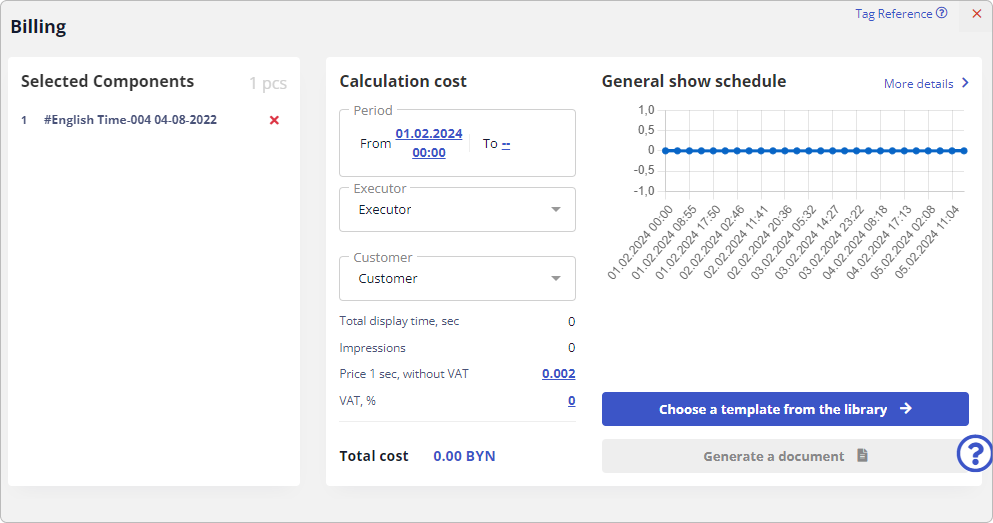
All details of counterparties must be filled in for the billing to work properly. Prepared and uploaded document templates to the library.
Calculation of the cost of the show
| Setting | Description |
|---|---|
| Setting the billing period | |
| Select the Executor for the contract (data entered here...) | |
| Selecting a contractual customer (data entered here...) | |
| The values of the cost of showing 1 second of the component and VAT according to the contractual relationship | |
| Select a document template (create document template here...) | |
| Generate act, button available when a document template is selected The generated act can be found here | |
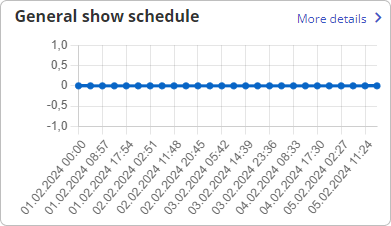 | A corresponding graph is provided to graphically illustrate the number of impressions, with the ability to drill down by time. |
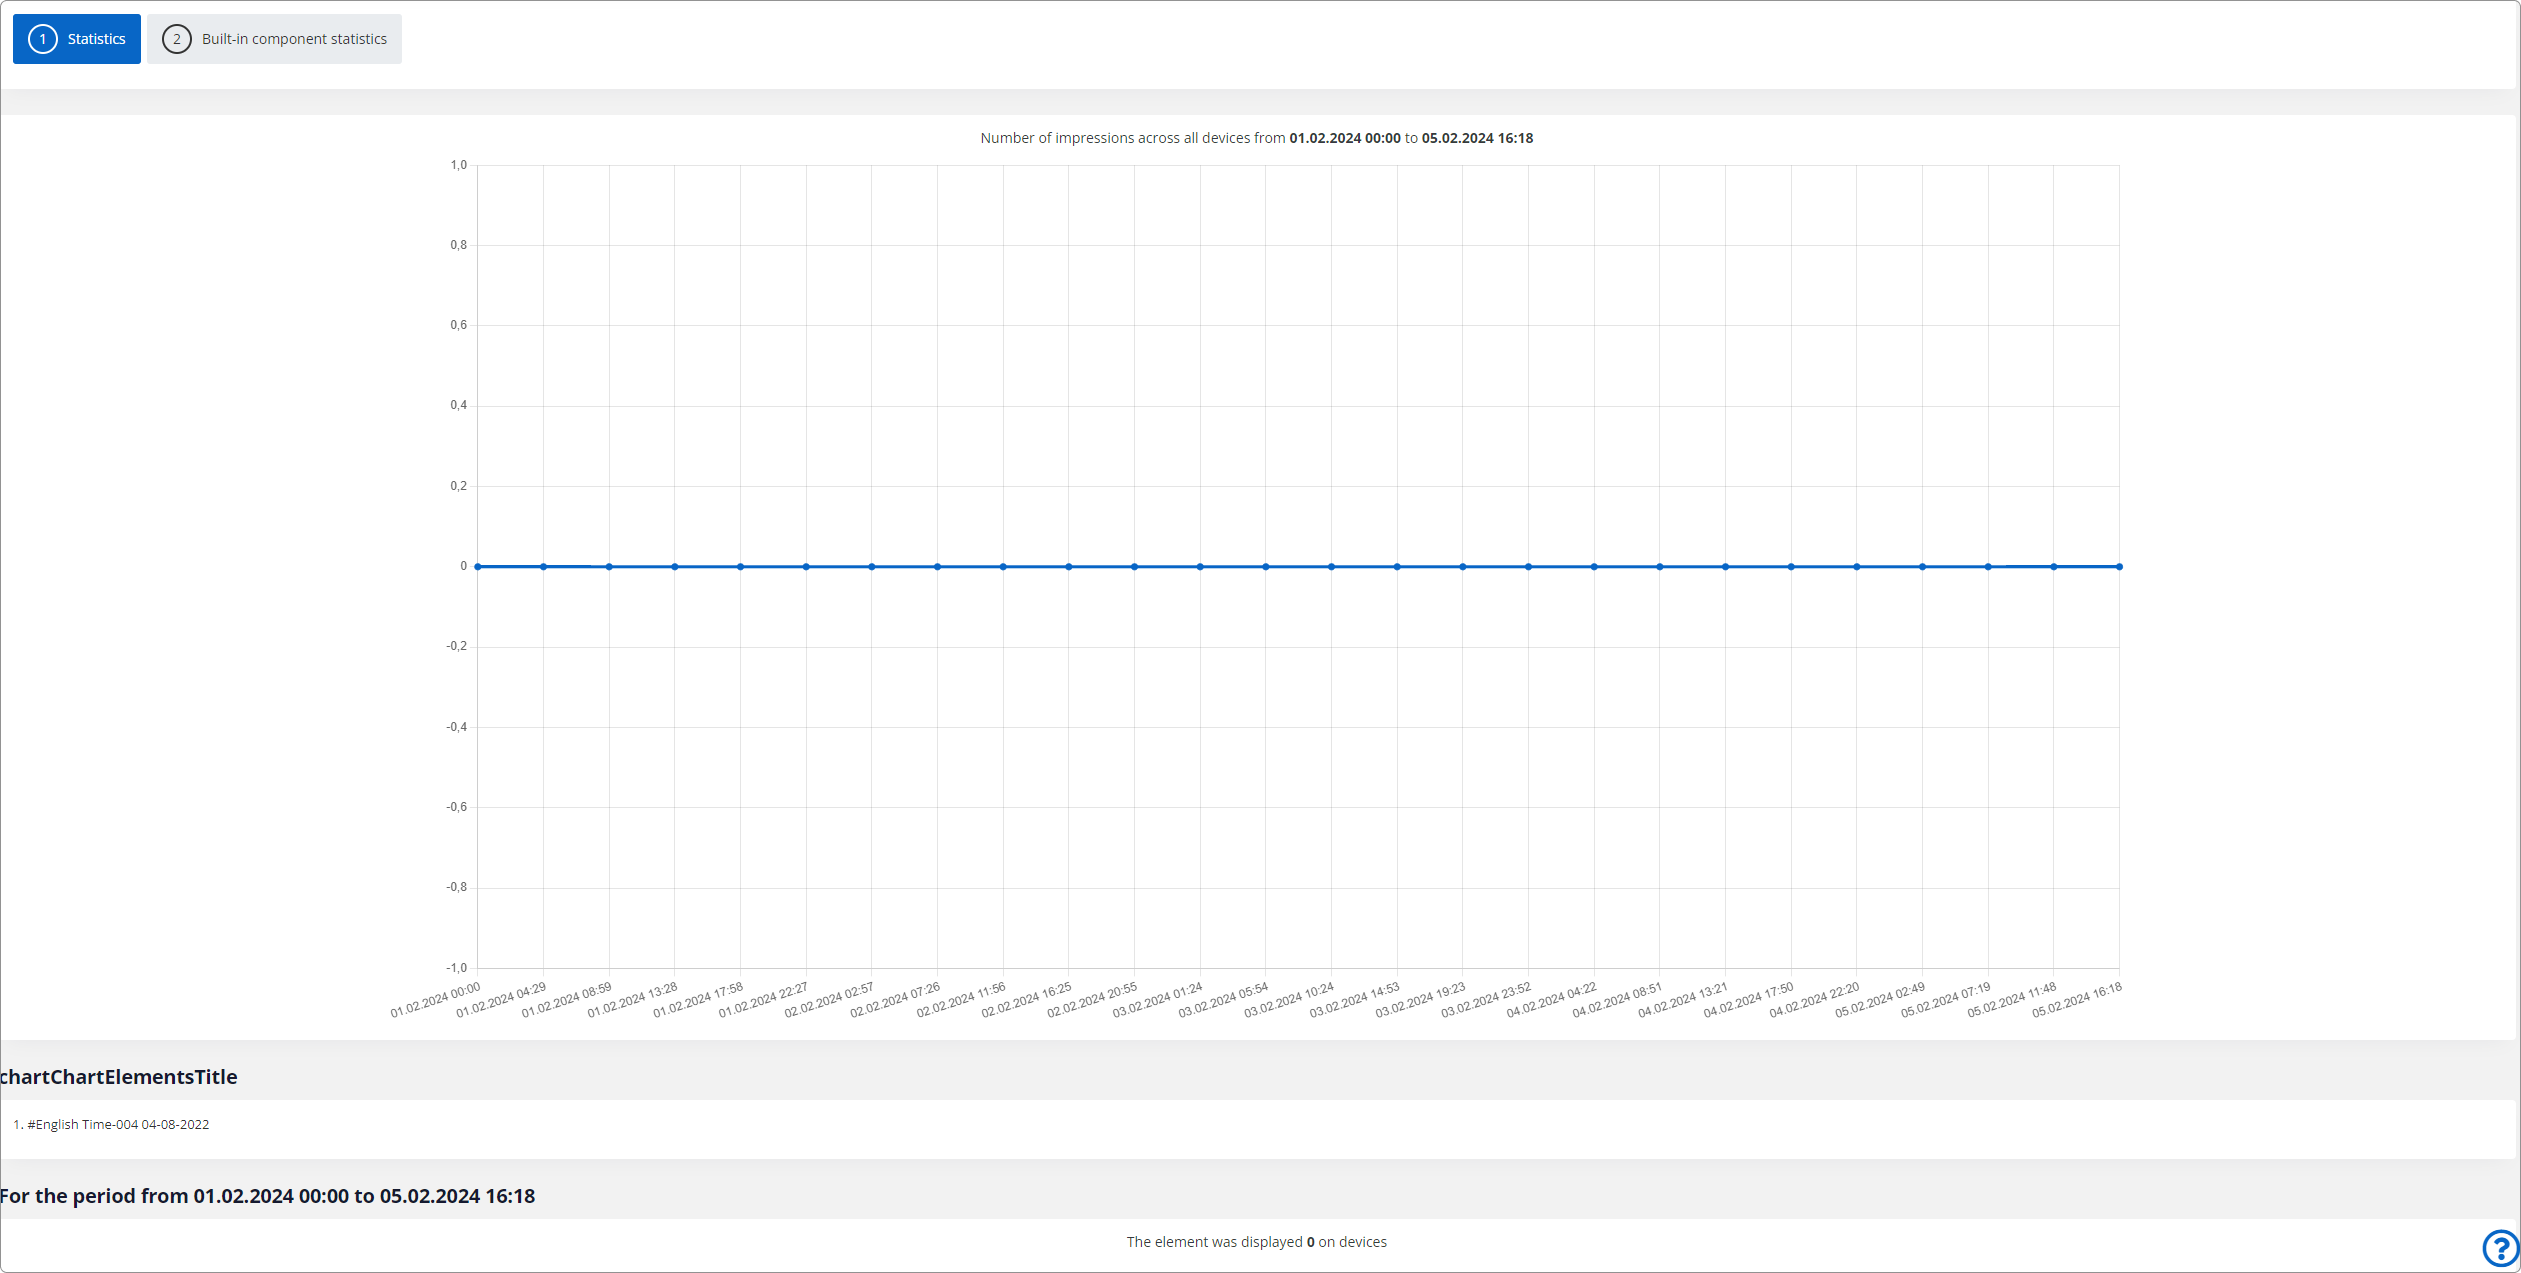
| The button More details generates a report of the number of times the component has been displayed on all devices |
Display count report
In order to collect statistics on the number of impressions, the corresponding mode must be enabled in edit component
Group deletion of selected components 
All components selected by the User will be removed from the playlist (and from the library if necessary).