Layouts
Published: June 11, 2024
Last Edited: June 12, 2025
Added: dynamic windows
The Layouts section is used to configure windows—virtual areas that can occupy either the entire physical screen or part of it. This enables flexible content placement: from fullscreen video to logos, tickers, and media walls.
Users can create layouts with different types of windows. A layout may be used for:
- fullscreen content broadcasting,
- displaying logos,
- outputting running text (tickers),
- building media walls,
- other custom use cases.
Users can use ready-made layouts with preconfigured windows or create custom ones. In most cases, using a template is sufficient.

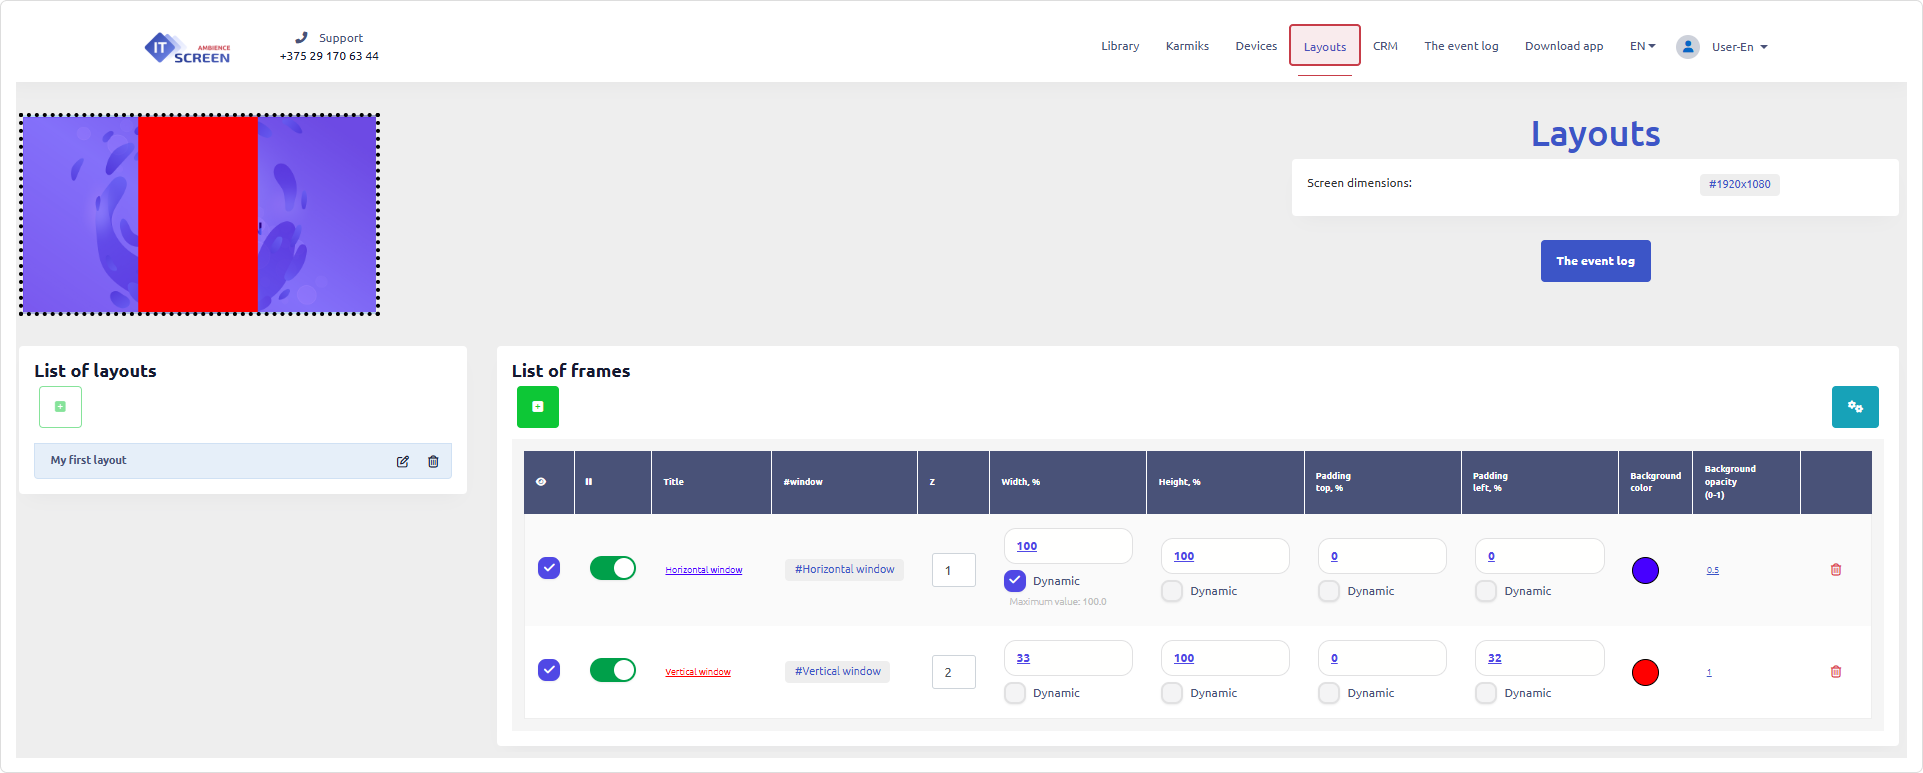
The layout menu interface is divided into three sections:

- Preview Area – shows how windows are positioned and layered on the physical screen.
- Layout Creation Area – users can create only one layout.
- Window Creation Area – users can create an unlimited number of windows.
Preview Area
This section allows you to visualize how windows are arranged and fine-tune their size and overlay. It also gives an overview of the final layout.

The button is under development and currently unavailable.
Layout List
Here, layouts are created. Each layout must contain at least one window.
Users can only create one layout. Administrators can create an unlimited number of layouts.
Layout Tools
Table 1. Layout Tools
| Tool | Description |
|---|---|
| Create a new layout | |
| Layout name | |
| Edit layout name | |
| Delete layout |
Window List
Windows are used to display content on the screen:
- fullscreen,
- partial (e.g., logo, ticker),
- multiple overlapping windows.

When the first window is created, the default screen resolution is set to 1920×1080. You can change it if necessary.
Window Tools
Table 2. Window Tools
| Tool | Description |
|---|---|
| Create a new window | |
| Window settings |

| Tool | Description |
|---|---|
| Select window for preview display | |
| Enable/disable window | |
| Window name | |
| Window tag (used for playlist targeting | |
| Window layer (higher numbers overlay lower ones) | |
| Width, height, margins (percent for standard screens, pixels for LED) | |
Background color and transparency  | |
| Remove window from layout |
Creating Layouts and Windows
When using the system for the first time, you need to create a layout and add windows.

Layout Creation
In the Layout List, click and enter the layout name.
If the button is unavailable, contact the administrator or technical support.
Window Creation
In the Window List, click to create a new window.

Configure settings if needed:

After selecting parameters, click
When using standard LCD screens, always set window sizes in percentages to ensure adaptability.
For LED screens, use pixels due to hardware specifics.
If both screen types are used in one project, create separate layouts for each.
Filling in Window Fields
1. Enter the window name.
| 2. | Create window tag (select if available): | |
|---|---|---|
| 2.1 | Click in the tag column (#window) | |
| 2.2 | In the popup, select a tag and click | |
| 2.3 | To create a new tag, enter its name in Search and Create and click | |
| 2.4 | Select the created tag and click |
3. Specify width and height.
4. Add top and left margins if needed.
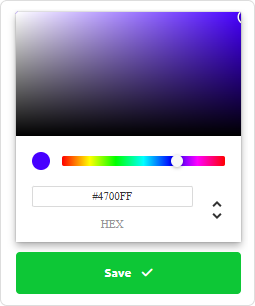
5. Set background color and transparency.
The window is now ready to display content on user devices.
Use the preview area to see how the window appears on the screen:
